How to Remove Embroidery From Backpack
Embroidery on backpacks can be a great way to add personalization and style.
However, there may come a time when you want to remove the embroidery, whether it’s because you no longer like the design, want to repurpose the backpack, or prefer a clean and minimalist look.
In this article, I’ll guide you through various methods to remove embroidery from a backpack, allowing you to restore it to its original state or prepare it for new decorations.
Why would you want to remove embroidery?
You would want to remove embroidery from a backpack for several reasons.
The embroidered logo no longer represents your interests or brand, or you want to sell the backpack and prefer it to be blank.
Whatever the reason, the methods described below will help you effectively remove without damaging the material.
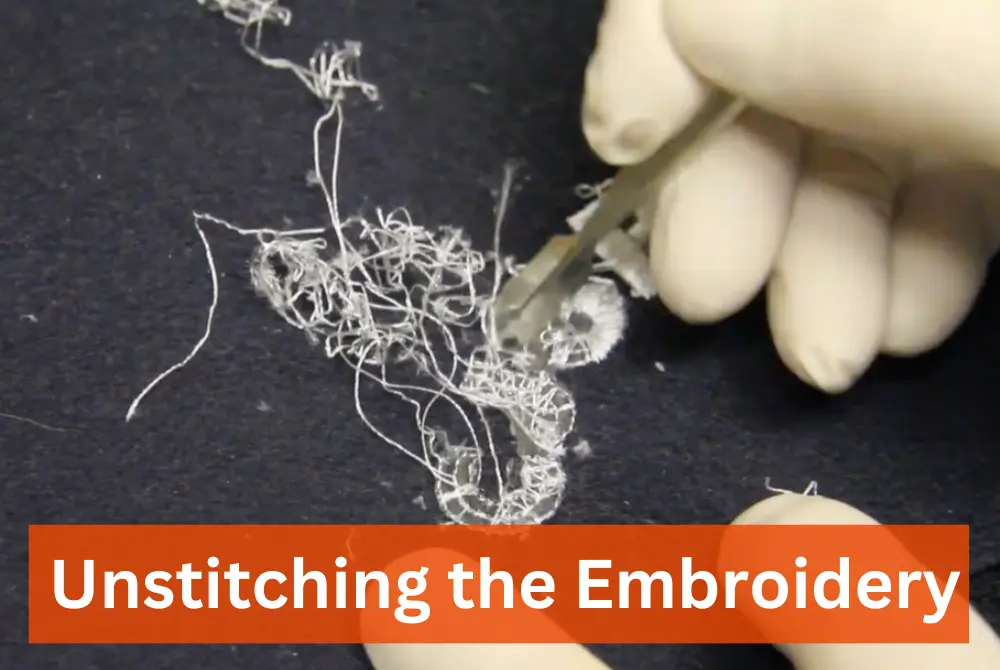
Method 1: Unstitching the embroidery
Tools required:
- Seam ripper or small embroidery scissors
- Tweezers
- Small, sharp scissors
- Seam sealant (optional)
Step-by-step process:
- Assess the embroidery: Examine the embroidery closely to determine its structure. Look for threads that pass under the fabric and tie off on the back.
- Begin unstitching: Use the seam ripper or small embroidery scissors to cut the stitches along the outline of the design gently. Be careful not to cut the backpack material.
- Remove excess threads: Once you have unstitched the embroidery, use tweezers or small scissors to remove any remaining loose threads.
- Clean and finish: If desired, apply a seam sealant to prevent fraying and secure the remaining threads.
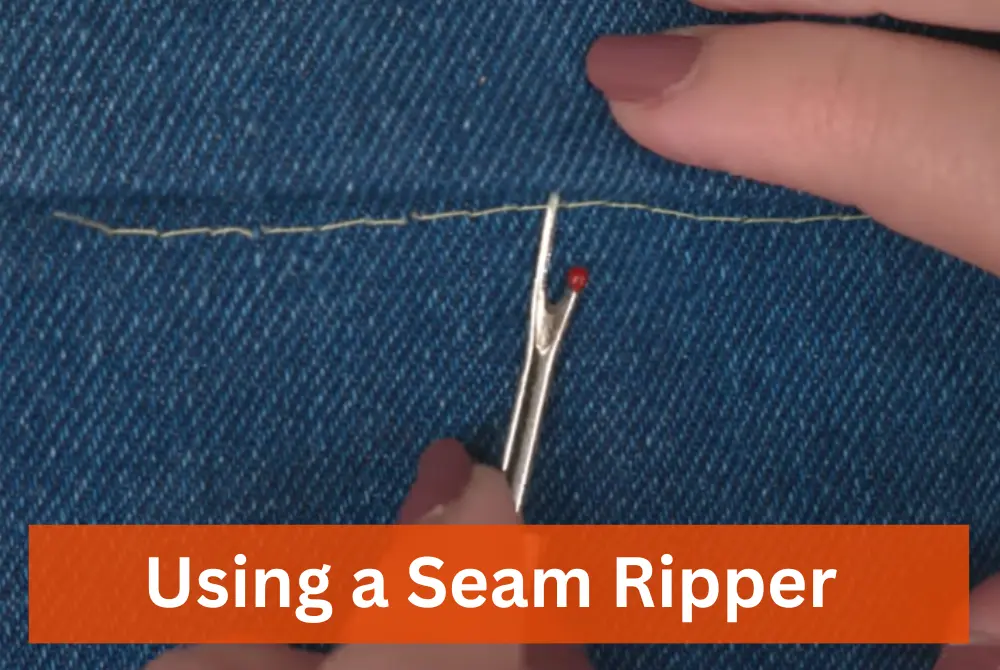
Method 2: Using a seam ripper
Tools required:
- Seam ripper
- Tweezers
- Small, sharp scissors
Step-by-step process:
- Identify the stitching: Locate the stitches that secure the embroidery to the backpack. These stitches may be visible or hidden.
- Use the seam ripper: Insert the sharp point beneath the stitches and gently push it against the thread to cut it. Move along the stitching, repeating this process until the embroidery is entirely detached.
- Remove loose threads: After removing the embroidery, use tweezers or small scissors to eliminate any loose threads.
- Tidy up: If necessary, trim any remaining excess threads and clean the area.
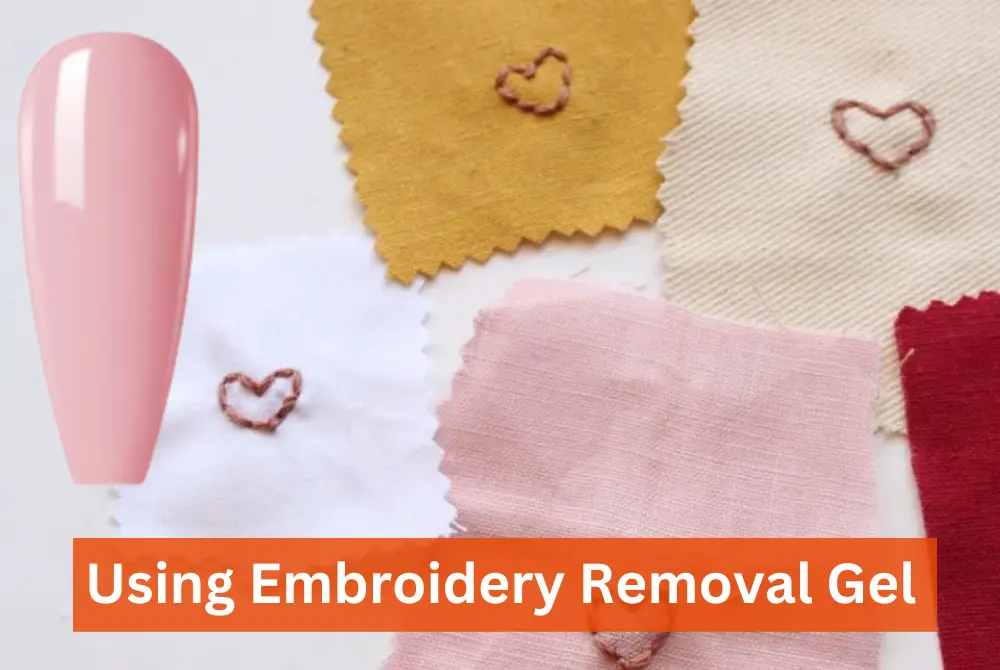
Method 3: Using an embroidery removal gel
Tools required:
- Embroidery removal gel
- Clean cloth
- Cotton swabs
- Mild detergent
Step-by-step process:
- Apply the gel: Read and follow the embroidery removal gel instructions on the packing. Apply the gel generously over the embroidery, ensuring all threads are thoroughly coated.
- Let it sit: Allow the gel to penetrate the embroidery for the recommended time specified on the packaging. This time may vary depending on the brand.
- Gently remove the embroidery: After the gel has had sufficient time to work, gently use a clean cloth or cotton swabs to wipe away the softened embroidery. Be careful not to rub too forcefully, as this may damage the material.
- Clean the area: Once the embroidery is removed, use mild detergent and water to clean the area where the embroidery was located. Gently scrub the surface to remove any residue from the gel or embroidery.
- Allow the backpack to dry: After cleaning allow to air dry completely before using or applying new decorations.
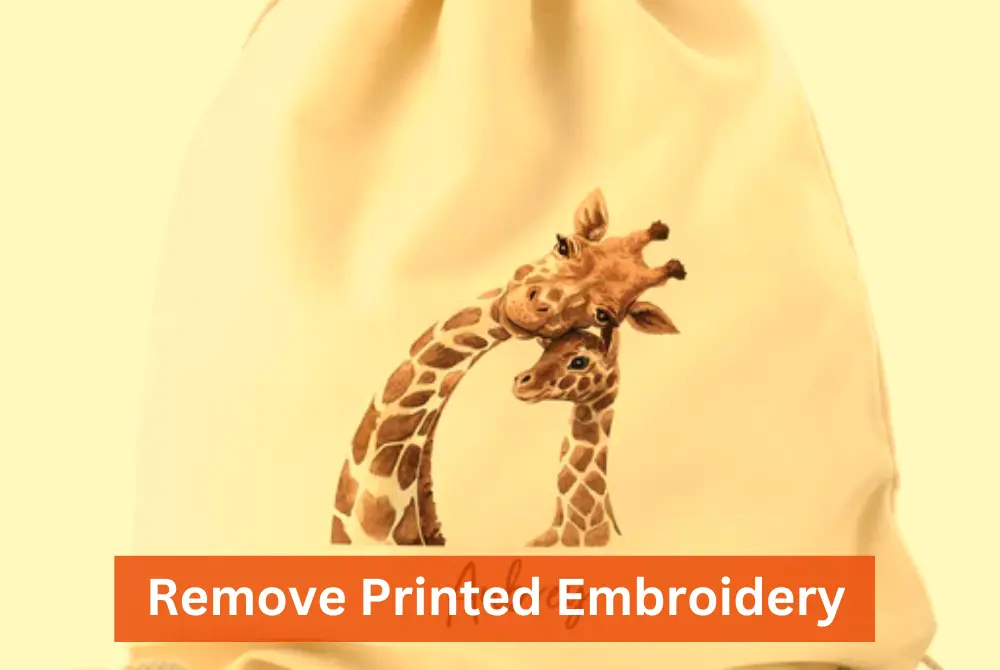
How to Remove Printed Embroidery?
Removing printed embroidery requires a slightly different approach than removing traditional stitched embroidery.
Printed embroidery refers to designs applied using a heat transfer or other printing techniques.
If you want to remove printed embroidery from your backpack, follow these steps:
Tools required:
- Heat gun or hairdryer
- Plastic scraper or credit card
- Rubbing alcohol or adhesive remover
- Clean cloth
Step-by-step process:
- Apply heat: Use a heat gun or hairdryer on a low heat setting to gently warm the printed embroidery. The heat helps reduce the adhesive used in the printing process.
- Scrape off the embroidery: Once the adhesive is heated, carefully use a plastic scraper or credit card to scrape off the printed embroidery. Start from the edges and work towards the center, applying gentle pressure.
- Remove residue: After removing the printed embroidery, some adhesive residue might be left on the backpack. Apply rubbing alcohol or adhesive remover to a clean cloth and gently rub the residue until it lifts off. Don’t rub too vigorously, as it may damage the material.
- Clean the area: After removing the residue, take a clean cloth dampened with mild detergent and water to clean the area thoroughly. Gently scrub the surface to eliminate any lingering residue or marks.
- Allow the backpack to dry: Once you have finished cleaning, it is important to let the backpack air dry completely before using it or applying any new embellishments. It ensures that it is completely dry and ready for the next steps in its transformation.
Frequently Asked Questions (FAQs):
When done carefully and following the recommended methods, embroidery removal should not cause significant damage to the material. It’s important to be patient and avoid using excessive force.
Once the embroidery is removed, you can re-embroider with a new design or leave it blank. The removal process provides a clean canvas for unique embellishments or customization.
Yes, the methods described in this article can be applied for various items, such as clothing, bags, and accessories. However, always consider the material and its specific requirements before proceeding.
The time required depends on factors such as the complexity of the design, the method chosen, and your experience. It can range from a few minutes to a couple of hours.
Hiring a professional service is unnecessary, but it can be a good option if you need more experience or want a guaranteed result. Professionals have the expertise and specialized tools to ensure a safe and efficient removal process.
Check the related videos on YouTube at YuDaMan channel:
Having recently come across your informative article on removing embroidery from a backpack, I found the step-by-step guides incredibly helpful. However, I was hoping you could address a few specific concerns, and I would like a more comprehensive understanding.
1. Could you provide additional insights on potential challenges one might encounter during the embroidery removal process and how to overcome them?
2. If the backpack has additional features like zippers, pockets, or unique fabrics, are there any precautions or steps to avoid damaging these elements?
I greatly appreciate the thoroughness of your initial article and that addressing these specific points would offer readers like myself a more nuanced and confident approach to removing embroidery from a backpack. Thank you for your time and expertise!
Potential Challenges in Removing Embroidery
When removing embroidery from a backpack, being aware of potential challenges is important. Here are some helpful tips to make the process smoother:
1. Stitch Residue
Removing embroidery often leaves behind stitch residue. To overcome this, use a seam ripper or small scissors to cut the remaining threads carefully. Be gentle to avoid damaging the fabric.
2. Fabric Distortion
Certain fabrics may distort during the removal process. If you notice any stretching or warping, place a thin fabric over the area and press with a warm iron. This helps in restoring the original shape.
3. Color Bleeding
Embroidery threads may bleed onto the fabric, especially if the backpack is made of delicate material. Test a small, inconspicuous area with a damp cloth to check for color bleeding before proceeding with the removal.
Preserving Additional Features
When dealing with a backpack with extra features like zippers, pockets, or unique fabrics, taking precautions is crucial to avoid unintended damage. Here’s what you should consider:
1. Zippers
Protect zippers by covering them with painter’s tape before starting the removal process. This prevents the seam ripper or scissors from accidentally scratching or catching onto the zipper teeth.
2. Pockets
Empty the pockets and turn the backpack inside out. This provides better access to the embroidery and reduces the risk of accidentally cutting or damaging the pockets during the removal.
3. Unique Fabrics
Exercise extra caution for backpacks with unique or sensitive fabrics, such as leather or mesh. Test a small, inconspicuous area with a mild detergent to ensure the fabric won’t be adversely affected during the removal.
By addressing these concerns, you can approach the embroidery removal process more confidently, preserving the integrity of your backpack. I hope these additional insights enhance your experience. Happy crafting!
Thank you for sharing the helpful article on removing embroidery from backpacks. The section on tools and materials was particularly informative. However, I would appreciate it if you could provide a more detailed breakdown of the tools and materials required to remove embroidery from backpacks.
In addition to the essentials mentioned in the article, I would also like to know about other tools and materials that could improve the efficiency and precision of the embroidery removal process.
Hey there! First off, thanks a bunch for checking out the article and finding it helpful. I totally get where you’re coming from – sometimes you need a bit more detail, right?
So, when it comes to removing embroidery from backpacks, having the right tools can make a world of difference. Apart from the basics mentioned in the article, like seam ripper and tweezers, I’d recommend getting yourself a pair of precision scissors. Trust me, they’re a game-changer when it comes to getting into those tricky spots without accidentally damaging the fabric.
Now, let me share a little trick I picked up from my own experience. I once had this vintage backpack with intricate embroidery that I wanted to replace. In addition to the standard tools, I found using a small, handheld magnifying glass incredibly handy. It might sound a bit old-school, but it seriously helps you see the tiny details and ensures you’re not missing any threads.
Oh, and don’t forget a good light source. Natural light is fantastic, but sometimes you need a bit of extra brightness to spot those sneaky stitches.
As for materials, having a variety of threads that match the backpack’s fabric is key. You want the end result to look seamless, right? Also, keep some fabric glue handy – it’s a lifesaver for securing any loose ends after removing the embroidery.
Hope these tips make your embroidery removal project a breeze. Happy crafting!