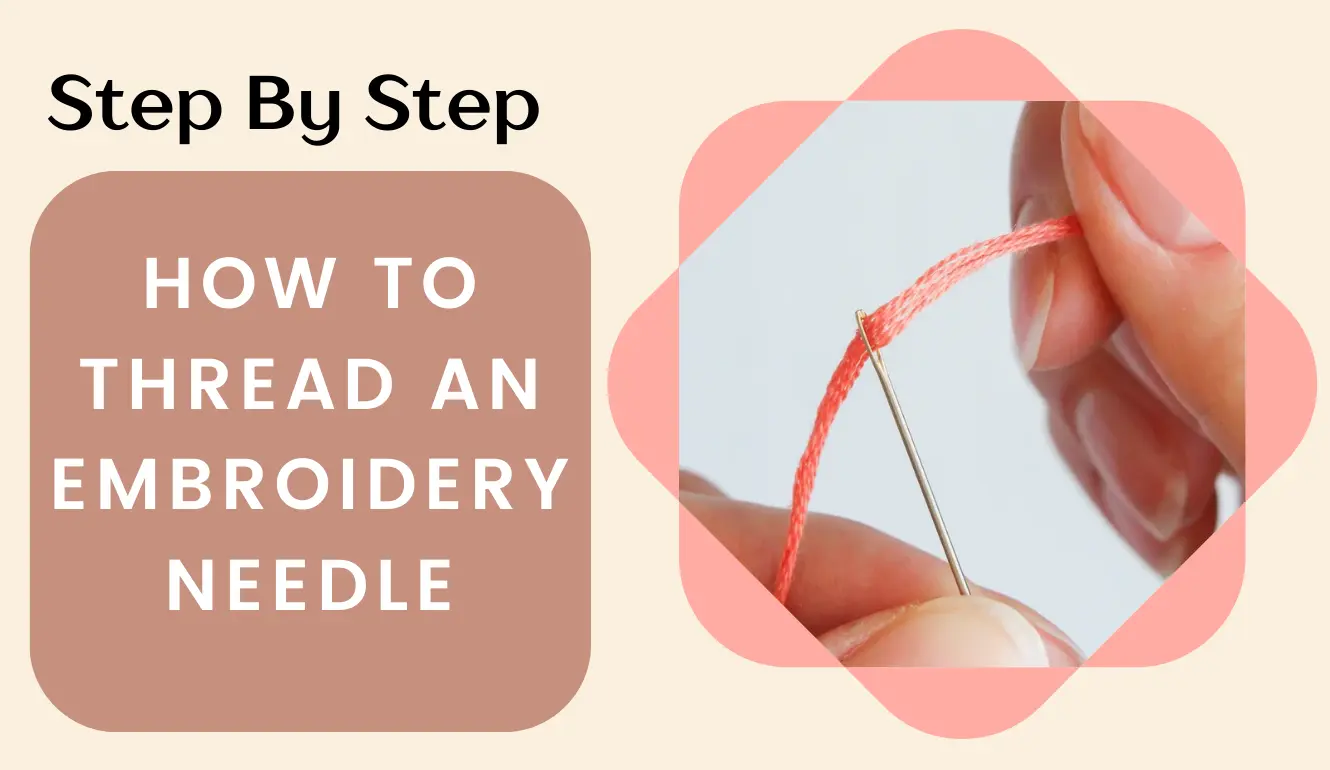
How To Thread An Embroidery Needle (Step By Step)
Embroidery lovers often face the frustrating task of threading a needle with multiple strands of embroidery floss.
However, fret not! There are a variety of practical techniques to perform this without resorting to the outdated practice of licking the thread.
This complete Embroidery Master experts guide will walk you through the process, ensuring you can thread your embroidery needle quickly and correctly.
Before we delve into the specific methods, we must understand the importance of separating the strands of embroidery floss without causing any tangles. This step sets the foundation for a smooth threading process.
Further, it’s worth noting that cross stitch and embroidery needles possess more enormous eyes than those intended for sewing or quilting. The size of the needle’s eye becomes significant when working with multiple strands of thread.
Therefore, it’s essential to select a needle size suited to the thickness of the thread you’re using.
Now that you have your embroidery needle and a freshly cut length of floss, it’s time to master the art of threading.
In the below sections, we will introduce two tried-and-true methods to upgrade your threading skills to professional levels. With our step-by-step instructions, you’ll thread your embroidery needle effortlessly in no time.
Materials needed
- Embroidery Needle
- Embroidery Floss
- Embroidery Scissors
- Thread Conditioner (optional)
Tips
Needle threaders are widely available at craft stores and online, and they are relatively inexpensive. They can save you time and frustration, especially when working with fine needles or delicate threads.
Threading Technique Graph:
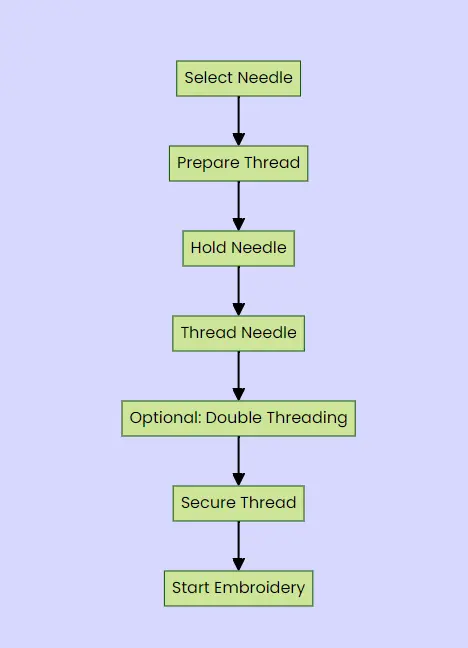
Step By Step Guides to Thread an Embroidery Needle
Step 1: Prepare Your Materials
Gather all the necessary materials, including your embroidery needle, floss, scissors, and optional thread conditioner.
Ensure your floss is cut to a manageable length, usually around 18-24 inches (45-60 cm), to prevent tangling.
Complete Details:
As I begin threading my embroidery needle, I take a moment to gather all the necessary items I have laid out before me. My trusty embroidery needle has a slender eye waiting to take the thread. Along with it, I have an array of colorful floss, a sharp pair of scissors, and maybe some thread conditioner for added smoothness.
I am cautious to trim my floss to the perfect length, usually around 18-24 inches (45-60 cm). This attention to detail prevents tangling and sets the stage for a smooth stitching experience. As I organize my materials, I feel excited and eager to enter the intricate world of embroidery and bring my creative vision to life, one stitch at a time.
Related: How to Remove Embroidery From Backpack
Step 2: Separate the Strands
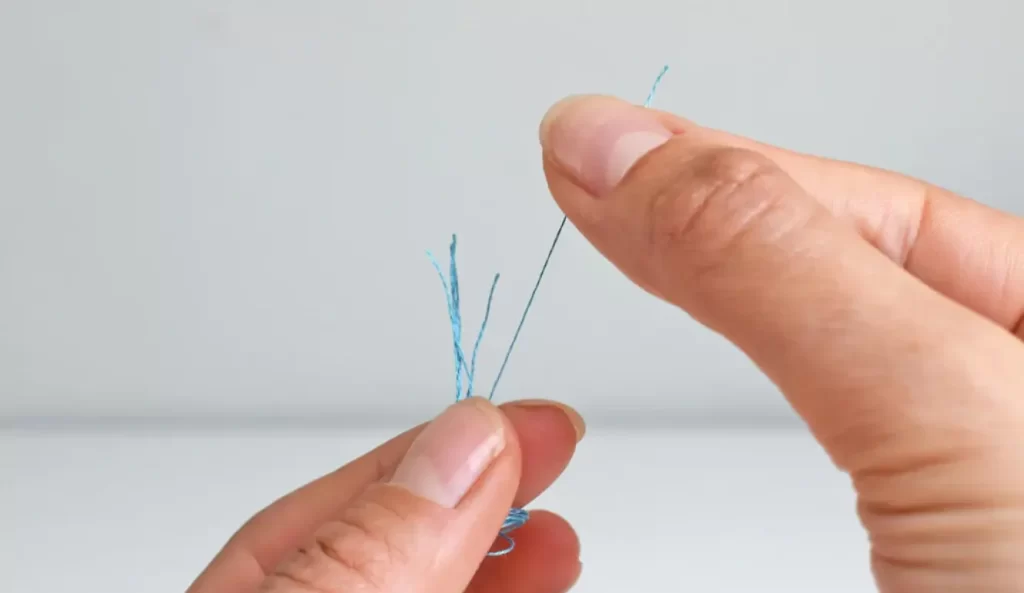
If you’re using embroidery floss with multiple strands, such as six-stranded floss, gently separate the selected number of strands from the rest.
Hold the floss near one end and carefully pull individual strands away, keeping them parallel. Set aside the remaining strands for future use.
Complete Details:
With my chosen embroidery floss in hand, I approach the task of separating the strands with delicacy. I proceed with gentle precision if I work with a multi-stranded floss, like the commonly used six-stranded variety. Holding the floss near one end, I separate the required number of strands from the rest, ensuring a smooth and even extraction. Each strand is carefully pulled away, maintaining parallel alignment, which demands patience and attention to detail.
As I separate the strands, I can’t help but admire the silky texture and vibrant hues, each thread holding the promise of adding depth and dimension to my embroidery project. Once the desired strands are isolated, I set aside the remaining ones, knowing they will patiently await their turn in future creations.
Related: 12 Common Janome 9450 Problems With Fast Solutions
Step 3: Prepare the Needle
Take your embroidery needle and hold it between your thumb and index finger.
If you’re using a thread conditioner, lightly run the floss through it to add a thin coating, which can help prevent tangling and make threading smoother.
Complete Details:
As I move on to the next step in threading my embroidery needle, I pick up the needle itself, feeling its smooth surface against my fingertips. Holding it delicately between my thumb and index finger, I prepare to enhance the threading process for optimal results. If I have a thread conditioner nearby, I take advantage of its benefits. With a gentle touch, I run the floss through the conditioner, allowing it to pick up a thin coating.
This simple step can work wonders, as it helps to reduce the likelihood of tangling and ensures a smoother threading experience. I appreciate the added ease this provides, knowing that it will contribute to the overall enjoyment of my embroidery project. With my needle now prepped and ready, I eagerly anticipate the next stage of bringing my creative vision to life, stitch by stitch.
Related: How to Make Embroidery Patches: A Step-by-Step Guide
Step 4: Flatten and Straighten the Thread
Pinch the separated end of the floss between your thumb and index finger, then slide your other hand down the length of the floss to straighten and flatten it.
This will make threading more accessible and reduce the chance of the floss fraying.
Complete Details:
As I thread my embroidery needle, I hold the separated end of the floss between my thumb and index finger, securing it with a gentle pinch. With my other hand, I glide down the length of the floss, exerting slight pressure to straighten and flatten it out. This simple yet effective technique makes threading easier and minimizes the risk of the floss fraying as it passes through the needle’s eye.
I understand the importance of these small but significant actions in facilitating a seamless embroidery experience. With the thread now smooth and straight, I’m one step closer to immersing myself in the creative art of embroidery.
Related: How to Shorten a Dress Without Sewing – 13 Working Methods
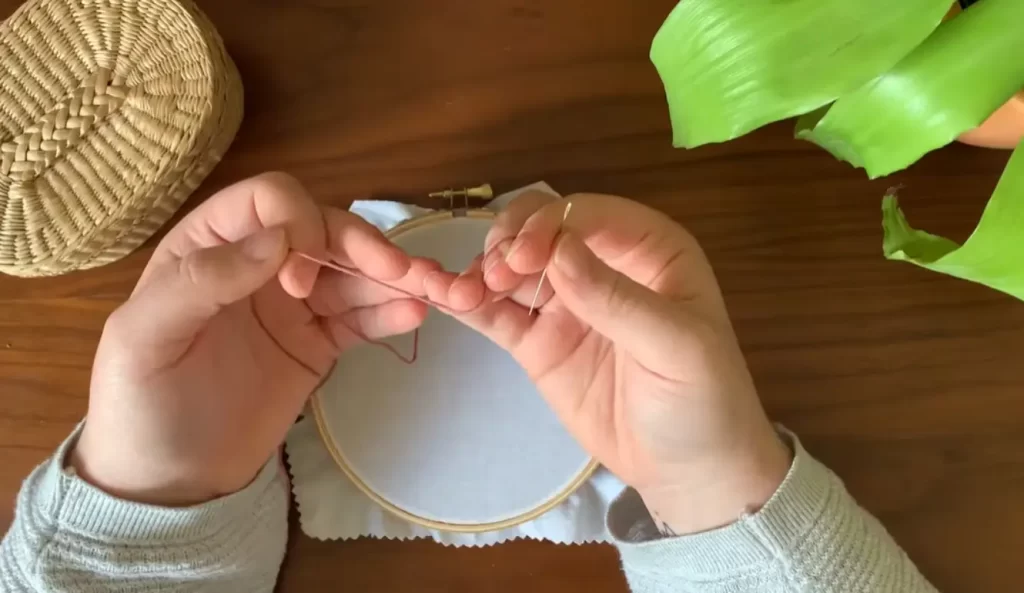
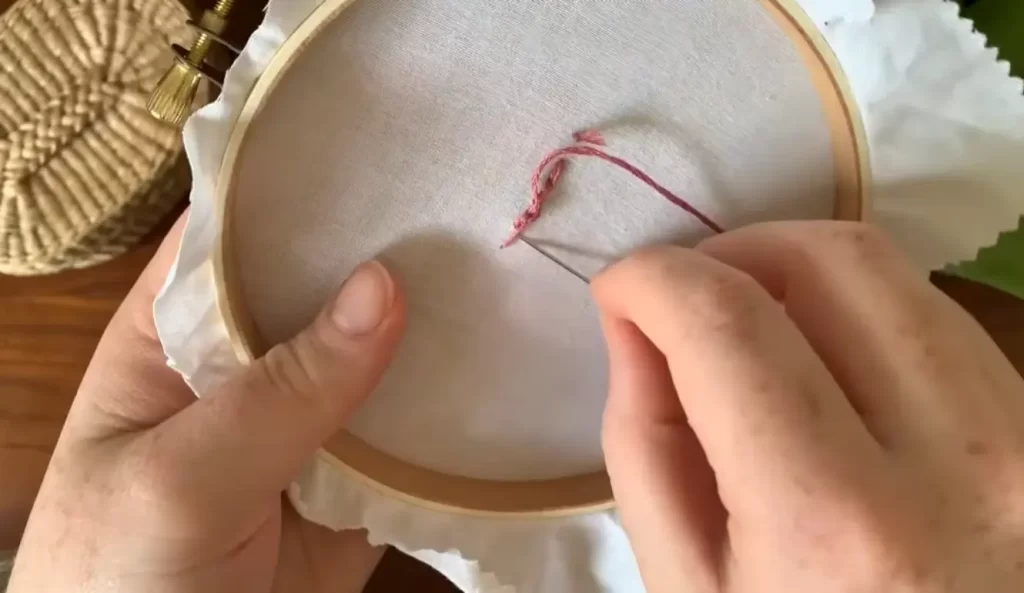
Step 5: Insert the Thread into the Needle’s Eye
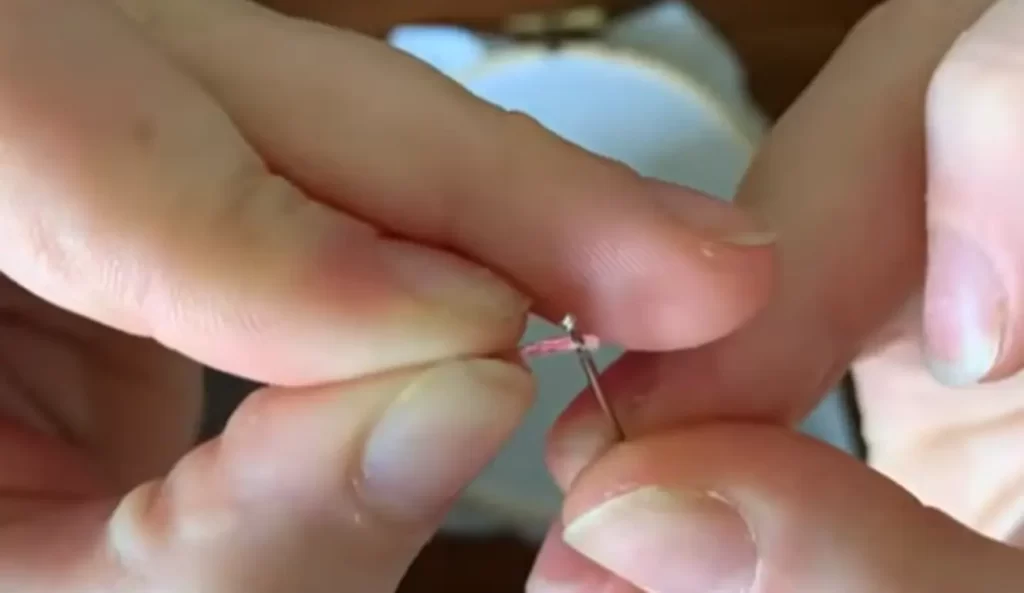
Align the floss’s flattened end with the needle’s eye and position it slightly above its tip.
Hold the needle firmly in one hand and use the other hand to guide the floss through the eye.
Gently push the floss through the eye until you see a small loop emerge on the other side.
Complete Details:
At this moment, I need to thread the embroidery needle, which is the most critical step. I align the flattened end of the floss with the needle’s eye, holding the needle firmly in one hand. With my other hand, I guide the floss through the eye, applying enough pressure to push it through. I watch closely, waiting for the small loop to appear on the other side of the needle.
This delicate task requires precision and patience. However, I can successfully insert the thread into the needle’s eye with steady hands and focused determination. This step is crucial in the embroidery process. Once the thread is secure, I can start stitching and bring my creative vision to life, one stitch at a time.
Related: How to Sew Without a Needle: 15 Creative Ways
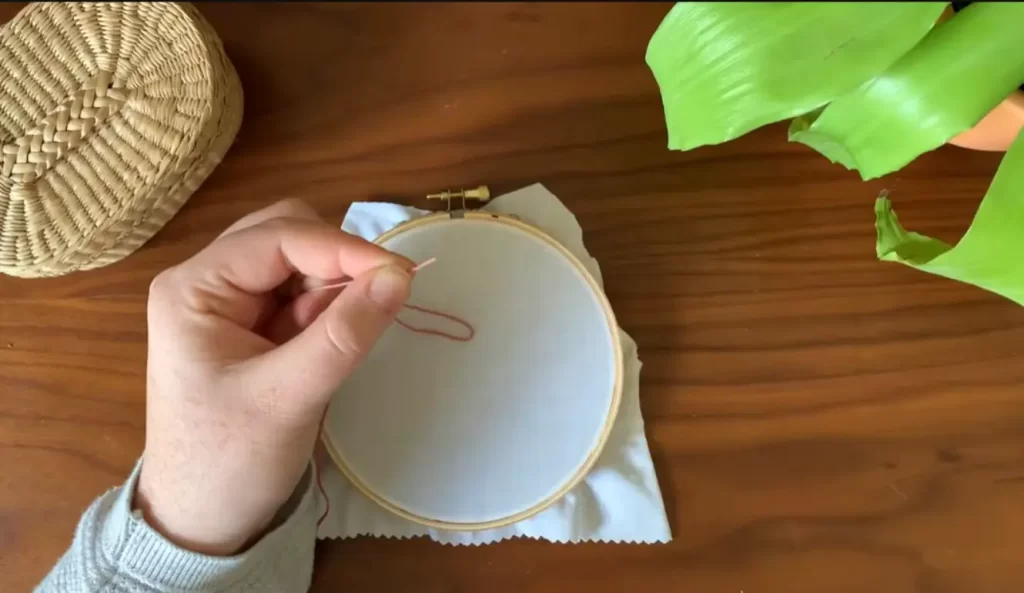
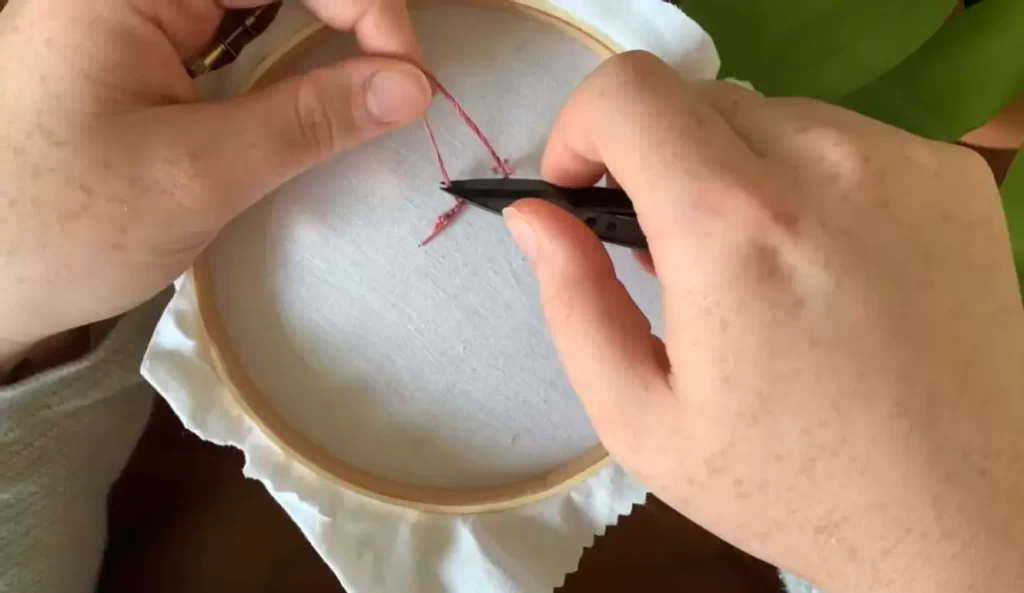
Step 6: Complete the Threading
Carefully insert the flattened end of the floss through the loop you just made. Then, hold the loop with one hand while gently pulling the floss with the other to tighten the loop.
Continue pulling until the floss is fully threaded through the eye of the needle.
Complete Details:
With the thread partially through the eye of the needle, I focus on completing the threading process. I carefully insert the flattened end of the floss through the loop that emerged earlier. Once inserted, I hold the loop with one hand while using the other hand to pull the floss gently.
As I do so, the loop gradually tightens around the floss, securing it in place. I continue pulling until the floss is completely threaded through the eye of the needle, ensuring a snug fit that will withstand the demands of my embroidery project. With this final step completed, I admire my work, satisfied in knowing that my needle is now armed and ready to bring my creative designs to life with each carefully placed stitch.
Related: How to Finish Embroidery Hoop: A Step-by-Step Guide
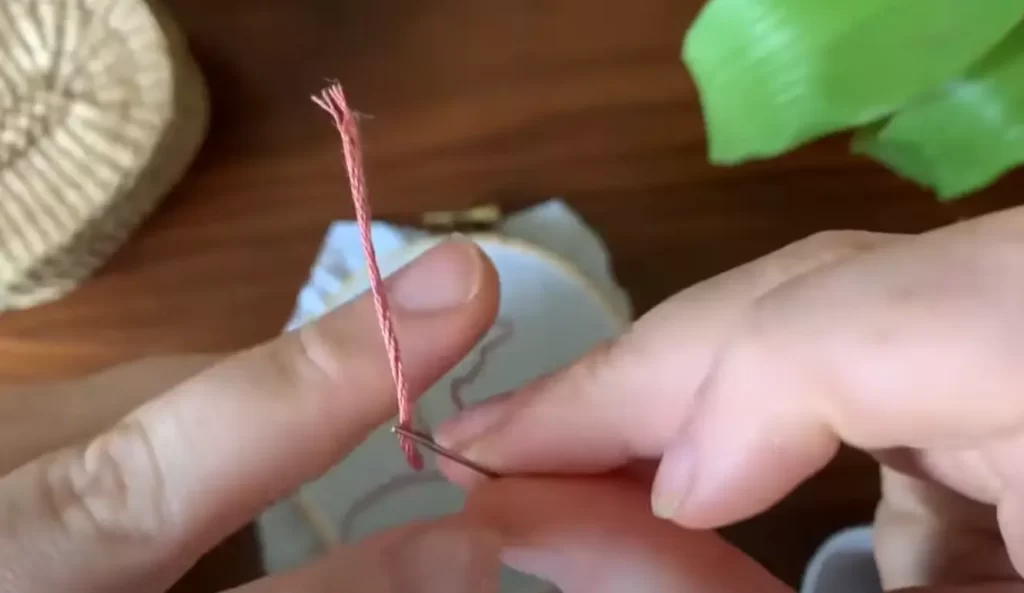
Step 7: Trim Excess Thread
Using your embroidery scissors, trim any extra thread hanging from the eye of the needle.
Make a clean cut as close to the eye as possible, ensuring the thread is securely in place.
Congratulations! You have successfully threaded your embroidery needle. You’re ready to start stitching your embroidery project and bring your creative vision to life.
Complete Details:
I have securely threaded the needle, and now it’s time to complete the final step. I take my trusty embroidery scissors and carefully trim any excess thread hanging from the eye of the needle. So, I hold the scissors steady and precisely cut as close to the eye as possible. This ensures a clean finish and that the thread is securely in place and ready for use.
After completing this small yet significant milestone, I take a moment to appreciate my accomplishment. I’m now armed with a perfectly prepared needle and ready to dive into my embroidery project. Every stitch I make is a testament to my passion and skill.
Check the related videos on YouTube at Thread Unraveled channel:
Frequently Asked Questions (FAQs):
Separating the strands helps control the thickness of your stitches. It allows you to adjust the number of strands used based on the desired effect and prevents your stitches from appearing too bulky.
Yes, it’s essential to use an embroidery needle. Embroidery needles have more enormous eyes, which make it easier to thread multiple strands of floss. They are designed specifically for embroidery projects.
No, thread conditioner is optional but can be helpful. Using a thread conditioner, such as beeswax or thread gloss, can reduce tangling and make the floss glide through the needle’s eye more smoothly.
Cutting your embroidery floss into lengths of about 18-24 inches (45-60 cm) is recommended.
This length is manageable and reduces the likelihood of tangling while stitching.
If the floss keeps slipping out, try flattening the end of the floss further or moistening it slightly with clean water.
These techniques provide more grip and help the floss stay in place as you thread the needle.