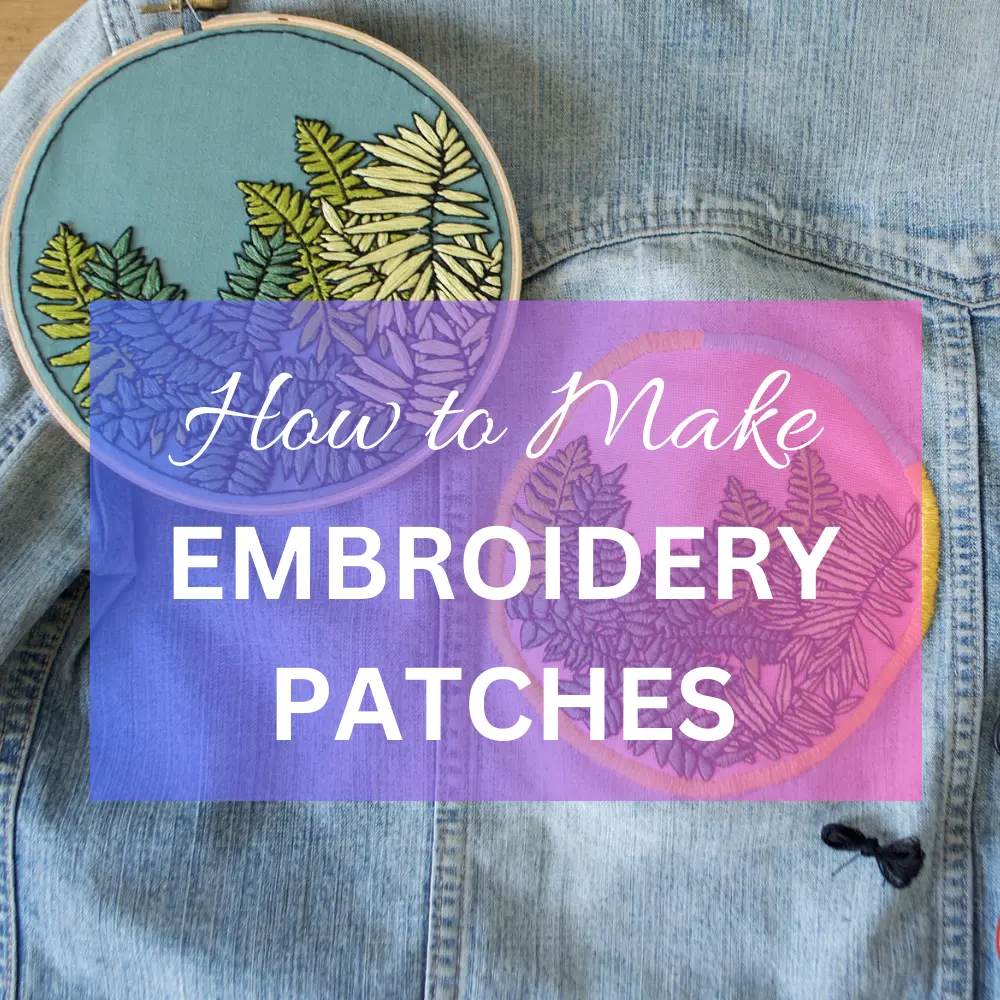
How to Make Embroidery Patches – Creative Methods
Embroidery patches are a great way to add a personal touch to your clothing, accessories, or crafts.
Whether you want to showcase your creativity, promote a cause, or enjoy the art of embroidery, creating your patches can be a rewarding experience.
In this article, Embroidery Master experts will guide you through making patches from start to finish. Prepare to unlock your creative potential and turn your design concepts into reality!
Embroidery patches are decorative pieces of fabric that are stitched with intricate designs.
They can be sewn or ironed onto various items, such as jackets, hats, bags, or even framed as artwork.
Making your patches allows you to customize your creations and express your unique style.
8 Steps to Make Embroidery Patches
Following these eight steps will lead you to a beautifully craft, ready to be showcased and admired.
1. Gathering Supplies
Before you start making, gather the following supplies:
- Fabric: Choose a sturdy and tightly woven fabric like cotton or denim.
- Embroidery hoop: This will help keep your fabric taut while you work.
- Embroidery floss: Select a color palette that matches your design.
- Embroidery needles: Use needles with a sharp point and large eye for easy threading.
- Scissors: You’ll need sharp scissors to cut the fabric and thread.
- Transfer method: Decide whether to use a transfer pen, paper, or other methods to transfer your design onto the fabric.
- Heat-activated adhesive or fabric glue will help you attach the patches to your desired items.
- Iron or sewing machine: Depending on the attachment method, you’ll need an iron or a sewing machine.
Related: How To Thread An Embroidery Needle (Step By Step)
2. Designing Your Patch

Start by sketching or digitally creating your design. Consider the size and shape of your patch and the level of detail you want to incorporate.
Keep in mind that simpler designs are more accessible to stitch. Once you’re satisfied with your design, transfer it onto the fabric using your chosen method.
Complete Details:
The initial step to creating a patch involves designing a unique and creative design. It is helpful to first sketch my ideas on paper or use digital tools to visualize my thoughts. During the brainstorming process, I considered the size and shape of my patch and how much detail I wished to include. Simpler designs are easier to stitch, especially if someone is new to embroidery.
After finalizing the design, the next step is to transfer it onto the fabric using the preferred method, such as transfer pens or paper. This step is significant as it shapes my vision of the fabric and sets the foundation for the stitching process.
Related: How to Finish Embroidery Hoop
3. Preparing the Fabric
Cut a piece of fabric slightly larger than your desired patch size. Please place it in the embroidery hoop, ensuring it is taut and wrinkle-free.
This will provide stability and make stitching easier. Secure the fabric by tightening the hoop.
Complete Details:
Now that I have transferred my design onto the fabric, I must prepare it for embroidery. Firstly, I cut a piece of fabric slightly larger than my desired patch. After that, I place the fabric into the embroidery hoop, ensuring it is taut without any wrinkles.
This step is crucial because it provides stability and makes stitching much more accessible. Once I am satisfied with the tension, I secure the fabric by tightening the hoop. Now, my fabric is all set and ready for me to bring my design to life with embroidery.
Related: How to Thread a Brother 1034d Serger
4. Choosing Embroidery Techniques
You can use various embroidery techniques to bring your design to life. Some popular stitches for patches include:
- Satin stitch: Ideal for filling large areas with smooth, solid blocks of color.
- Backstitch: Perfect for outlining and adding finer details to your design.
- French knot: Creates textured dots or small embellishments.
- Chain stitch: Adds a decorative and continuous line to your design.
Experiment with different stitches to achieve the desired effect and add depth to your patch.
Complete Details:
When creating patches, I have a variety of embroidery techniques at my disposal to make my design stand out. I can choose from various stitches, each with its unique effect. The satin stitch is perfect for filling large areas with smooth, solid blocks of color. The backstitch is ideal for adding fine details or outlining my design.
I love using the French knot to create textured dots or little embellishments. The chain stitch is another option that adds a decorative and continuous line to my design. To make my patch unique, I enjoy experimenting with different stitches, combining them to achieve the desired look and adding depth and dimension to my creation.
Related: Tips to Select Fabric Shredder for Home Use
5. Stitching the Design
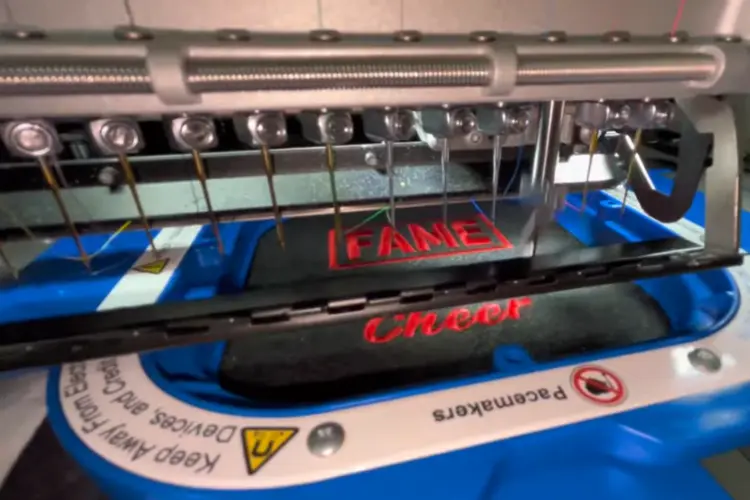
Using the embroidery floss and needles, begin stitching your design following the transferred lines.
Take your time and pay attention to the tension of your stitches for a neat and professional finish.
Don’t be afraid to experiment and add your creative flair.
Complete Details:
I’m excited to start stitching my design onto the fabric! With my embroidery floss and needles, I began to follow the lines I transferred earlier. I pay close attention to the tension of each stitch, ensuring they are neat and even to achieve a professional-looking finish.
As I work, I get lost in the rhythm of the stitching, allowing my creativity to flow freely. I’m not afraid to experiment, adding my unique flair to the design. With every stitch, my patch takes on its personality, and I can’t wait to see the final result! Stitch by stitch, I am one step closer to creating a beautiful embroidered patch that I can proudly display.
Related: How to Sew Without a Needle: 15 Creative Ways
6. Adding Finishing Touches
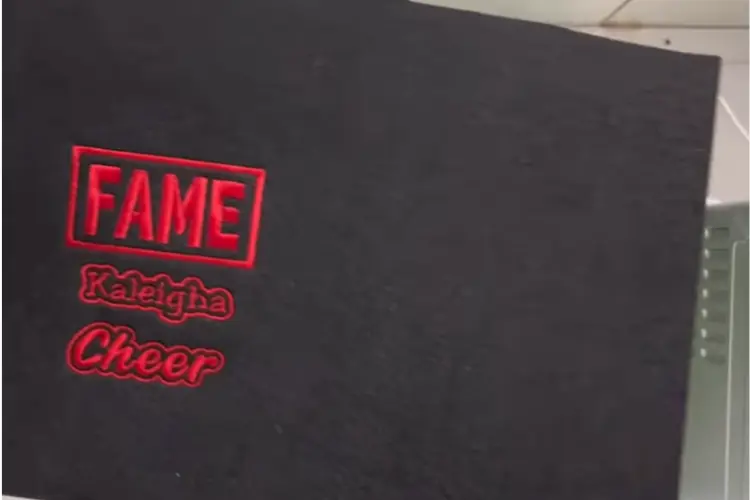
After finishing the embroidery, carefully take out the fabric from the hoop.
Trim the excess fabric around the patch, leaving a small border. This will give your patch a clean and polished look.
You can also fray the edges slightly for a vintage or distressed appearance if desired.
Complete Details:
After completing the embroidery, I’ll add the final touches to make my patch look neat and polished. I carefully remove the fabric from the hoop to avoid damaging the stitches. Then, I trim the excess fabric around the patch, leaving a small border.
This step helps in giving the patch a clean and tidy appearance. I can lightly fray the edges to share a vintage or distressed look with my patch. This technique adds a unique charm and character to the patch, giving it a bit of personality. With these finishing touches, my patch can be proudly displayed or added to my favorite clothing or accessories.
Related: 12 Common Janome 9450 Problems With Fast Solutions
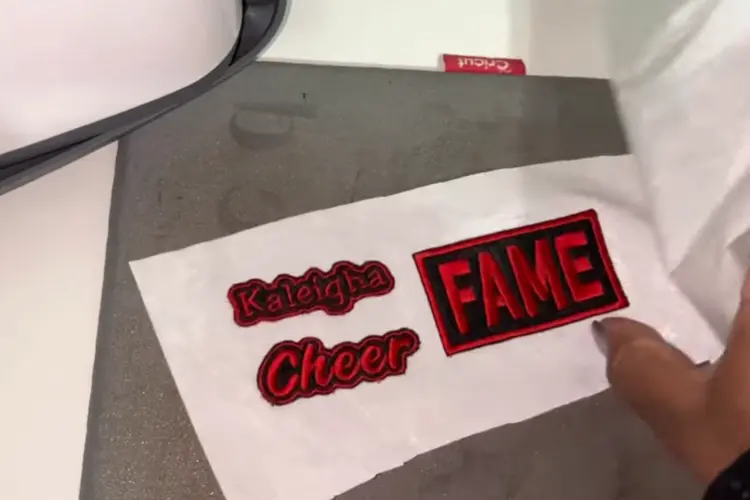
7. Attaching the Patch
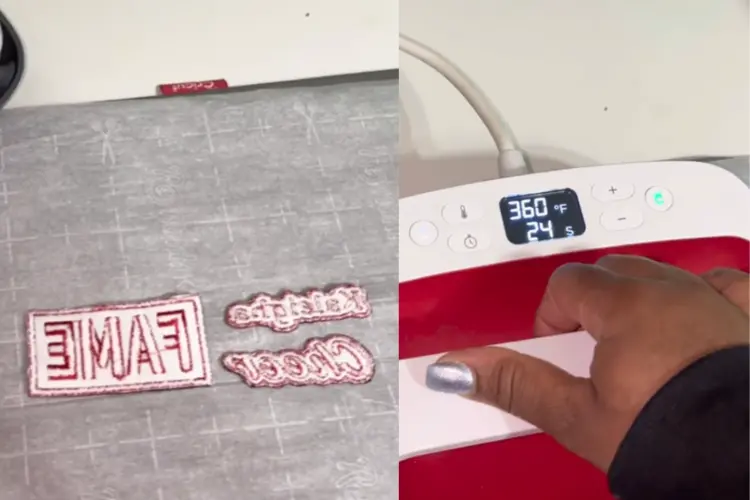
Decide on the attachment method that suits your needs. If using a heat-activated adhesive, follow the manufacturer’s instructions to attach the patch.
If sewing, thread a needle with matching thread and stitch around the patch’s edges.
Alternatively, you can use fabric glue for a quick and easy attachment.
Complete Details:
After completing my patch, I must decide how to attach it to the desired item. I have a few options based on my preferences and needs. If I choose a heat-activated adhesive, I follow the manufacturer’s instructions to attach the patch securely. This method provides a strong bond and is ideal for items that won’t undergo frequent washing or handling.
Alternatively, if I prefer to sew the patch on, I thread a needle with matching thread and carefully stitch around the patch’s edges. This method offers durability and allows for easy removal if needed. Lastly, I can use fabric glue for a quick and hassle-free attachment. I can securely adhere the patch to my item with a dab of glue. Whichever method I choose, I ensure that my patch is securely attached and ready to be showcased.
Related: How Much Does Embroidery Cost? A Comprehensive Guide
8. Maintaining and Caring for Your Patches
To ensure the longevity of your embroidery patches, follow these care instructions:
- It’s advisable to avoid washing them in hot water or using solid detergents.
- If machine-washing, turn your garments inside out to protect the patches.
- Place a thin cloth over the patch to protect it from direct heat when ironing.
- Store your patches in a cool, dry place to prevent any damage.
Complete Details:
Taking care of my embroidery patches is crucial to keep them looking their best for as long as possible. Here’s how I make sure they stay in excellent condition:
Firstly, I avoid washing them in hot water or using solid detergents. This helps prevent the colors from fading and the stitches from coming undone.
If I need to machine-wash my garments with patches attached, I always turn them inside out. This simple step helps protect the patches from getting snagged or damaged during the wash cycle.
When ironing my clothes, I take extra care to protect the patches. I place a thin cloth over them to shield them from direct heat and prevent any potential damage to the threads or adhesive.
Lastly, when I’m not using my patches, I store them in a cool, dry place. This helps prevent moisture or heat from causing damage over time, ensuring that my patches stay vibrant and intact for years.
By following these easy care instructions, I can enjoy the embroidered patches on my favorite garments and accessories for a long time without worrying about them losing their charm.
Related: How to Remove Embroidery From a Jacket
Conclusion
Making your embroidery patches is a creative and enjoyable process, allowing you to showcase your style and artistic flair.
With a few basic supplies and patience, you can turn your designs into unique patches that add charm and personality to your belongings.
So, gather your materials, unleash your creativity, and start stitching your way to beauty and personalizing them.
Check the related video on Tiffany Burnes’s YouTube channel:
Frequently Asked Questions (FAQs)
Yes, but it’s best to use sturdy and tightly woven fabrics like cotton or denim to ensure durability.
While an embroidery hoop provides stability, you can still create patches without one. Just make sure the fabric remains taut while you stitch.
The time required depends on the complexity of your design and your embroidery skills. Simple patches can be completed in a few hours, while intricate designs may take several days.
Yes, you can sell your handmade patches. Make sure to comply with any copyright laws and protect your original designs.
If the patch was sewn, carefully remove the stitches using a seam ripper. If it was attached with adhesive, gently heat the patch with iron and peel it off.