How to Thread a Brother 1034d Serger
Are you trying to achieve professional-looking seams on your garments because of the complexities of threading your Brother 1034D Serger? You’re not alone.
We all have faced the frustration of tangled threads, complicated manuals, and intricate mechanisms of a serger. But don’t worry!
This comprehensive guide will make the process easy for you by providing step-by-step instructions on how to thread your Brother 1034D Serger.
Say goodbye to threading woes and welcome beautifully finished seams that will take your sewing projects to the next level.
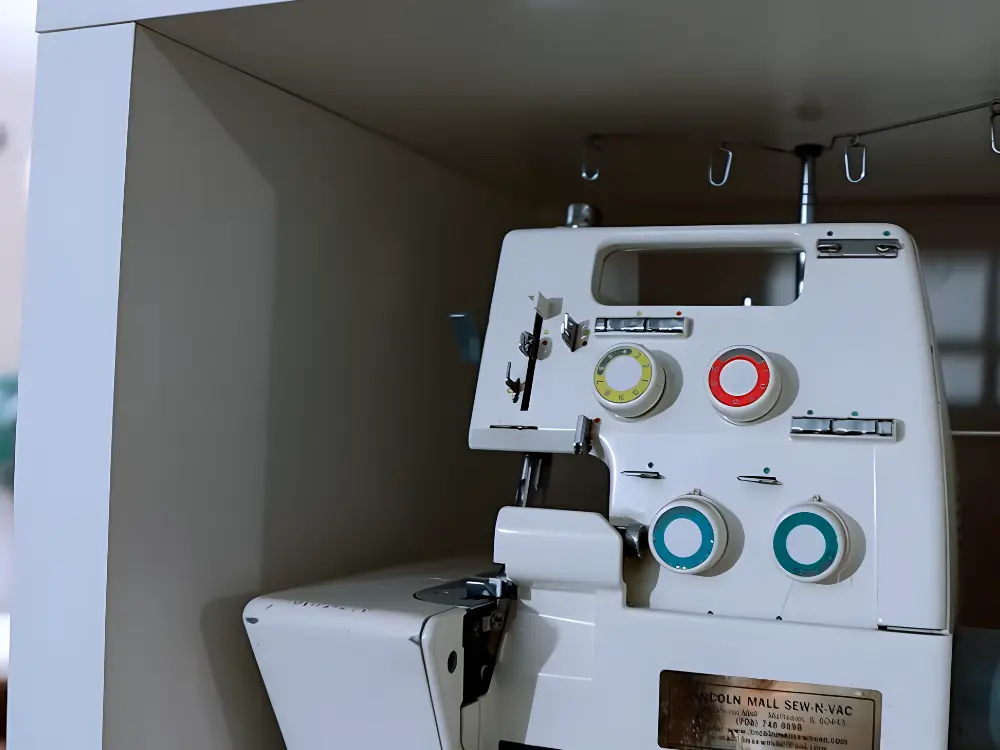
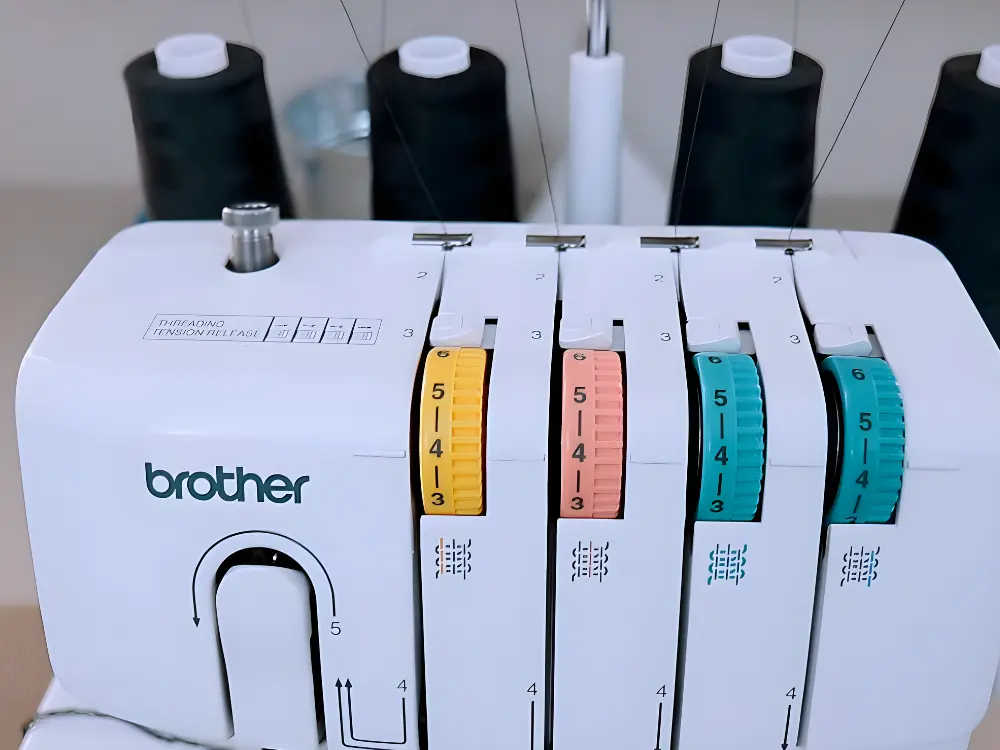
Understanding the Brother 1034d Serger
Discover the exceptional capabilities of the Brother 1034d Serger, a renowned model with advanced features that cater to your creative needs.
This Serger boasts a differentially advanced feed system that ensures seamless handling of fabric and offers an array of stitch options to elevate your sewing projects.
However, mastering the fundamental aspect of threading is crucial to maximizing its potential. Overcoming common challenges associated with threading can be challenging, but it is pivotal to unlocking the full potential of this machine.
Let’s delve into the essence of the Brother 1034d Serger and learn to thread it seamlessly to achieve perfection in our sewing projects.
Table of Essential Supplies for Threading:
| Supplies | Details |
|---|---|
| High-Quality Threads | Choose threads suitable for your fabric and serger model. |
| Tweezers | Handy for guiding threads through tight spaces. |
| Brother 1034d Manual | Essential for understanding specific threading steps. |
| Lint Brush | Use for regular cleaning and maintenance. |
| Small Scissors | For trimming threads during the threading process. |
| Screwdriver | May be needed for any necessary adjustments. |
| Thread Nets | Useful for preventing thread tangling. |
| Thread Stand | Optional but can improve thread flow. |
| Cleaning Cloth | Keep the serger clean for optimal performance. |
| Lubricating Oil | Follow the manual for proper lubrication instructions. |
Step-by-Step Professional Guide to Threading the Brother 1034D Serger
1. Preparation of the Machine:
Before initiating the threading process of Brother 1034D Serger, make sure to turn it off and raise the presser foot. Check the manual beforehand for specific guidelines regarding the preparation process.
The Brother 1034D Serger is an excellent sewing machine that can make my sewing look more professional. Before I start threading the machine, I always make sure to turn it off and raise the presser foot. This helps me avoid any accidents while I work with the machine. Raising the presser foot also gives me more space to work with when threading the machine, which makes it easier to access all the parts I need.
You should consult the manual before threading your Brother 1034D Serger. The manual provides step-by-step instructions for threading the machine, including the necessary thread types, thread paths, and tension adjustments required for your project. By carefully following the manual’s instructions, you can ensure your machine is set up correctly and ready to produce high-quality results.
Related: How to Remove Embroidery From Backpack
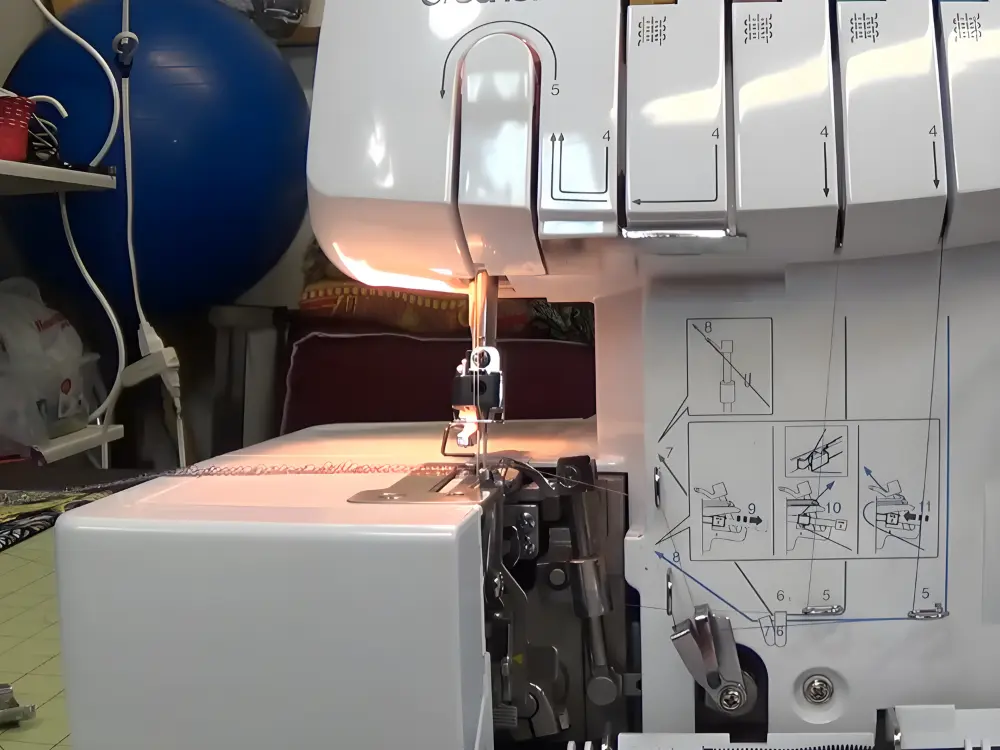
2. Threading the Upper Looper:
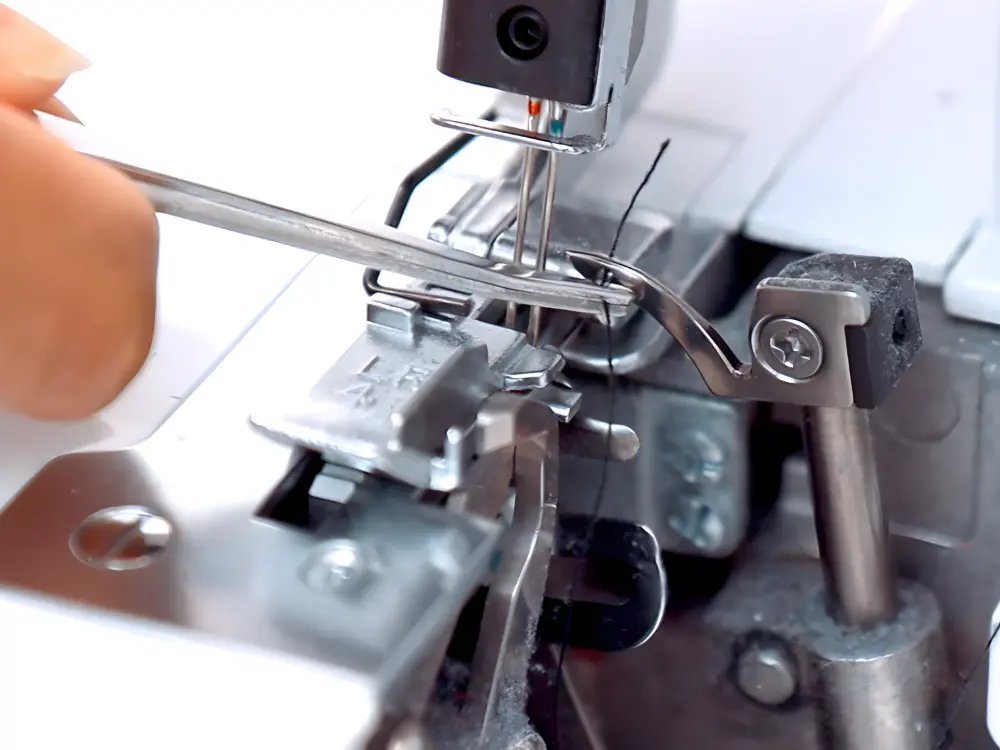
Follow the threading guide to locate the upper looper. Use tweezers to guide the thread through the assigned path, ensuring proper tension.
To locate the upper looper:
- Consult the threading guide that came with your sewing machine.
- Take your time to find the correct path for the thread and use tweezers to guide it through the assigned path.
- Be careful to notice loops or hooks as you thread the path.
Proper tension is crucial to ensure the smooth operation of your sewing machine, so adjust the tension as necessary as you guide the thread through each step of the path. By following these steps carefully, you can ensure that your sewing machine operates smoothly and produces high-quality stitches every time.
3. Threading the Lower Looper:
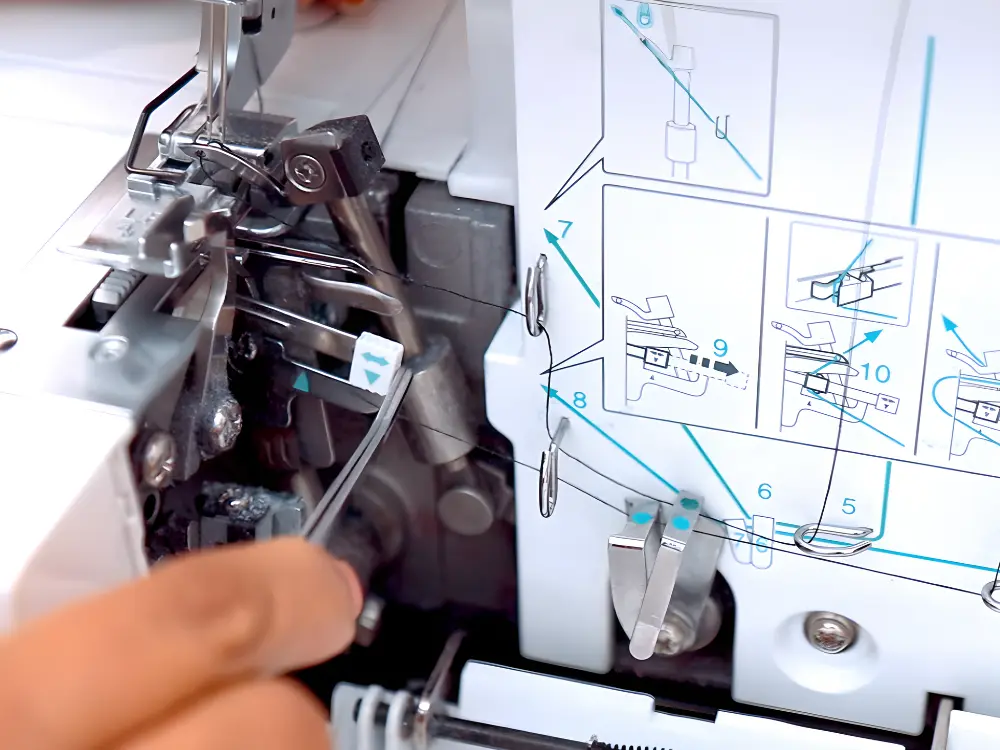
Proceed to thread the lower looper, diligently following the threading guide provided by Brother. Exercise patience to thread it with precision, avoiding any potential entanglements.
To thread the lower looper, I start by referring to the threading guide provided by Brother. I take the thread from the spool and pass it through the appropriate thread guide according to its instructions. Then, I carefully pass the thread through the looper’s eye and the tension discs. I ensure the thread is correctly aligned and not tangled in any way.
Finally, I pull the thread gently and thread it through the needles, making sure that it is adequately secured. I can incorporate the lower looper by following these steps patiently and diligently.
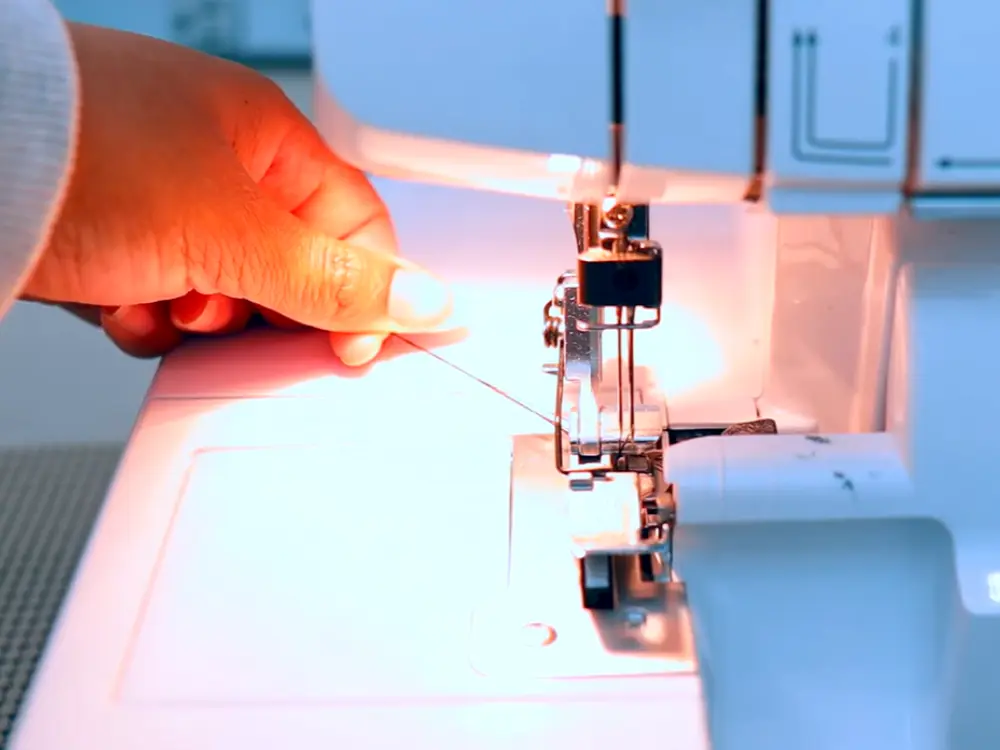
4. Threading the Right Needle:
Identify the right needle and thread it according to the manual’s explicit instructions. Ensure the thread seamlessly passes through any designated guides to guarantee optimal tension.
When I prepare my sewing machine, one of the most essential steps is threading the needle correctly. To get started, I make sure to choose the right needle based on the type of fabric I’ll be using. I consider factors like thickness to help me make the best choice.
Then, I carefully followed the instructions in my manual to thread the needle accurately. I check that the thread passes smoothly through all the designated guides so that the machine’s tension remains optimal and my stitches look great.
By taking the time to set up my machine carefully, I can make sure it performs well, and I can focus on my sewing projects without interruptions.
5. Threading the Left Needle:
Duplicate the threading process for the left needle, paying attention to any distinctive steps outlined in the manual for this particular needle.
To thread the left needle:
- Begin by following the same steps you used to weave the right needle.
- Refer to the manual for instructions that apply only to the left needle.
- Hold the thread securely and follow the path indicated in the manual.
It is important to thread the needle correctly to ensure optimal machine performance and avoid any potential issues during the sewing process. If you encounter any difficulties, refer to the manual or seek assistance from a qualified technician.
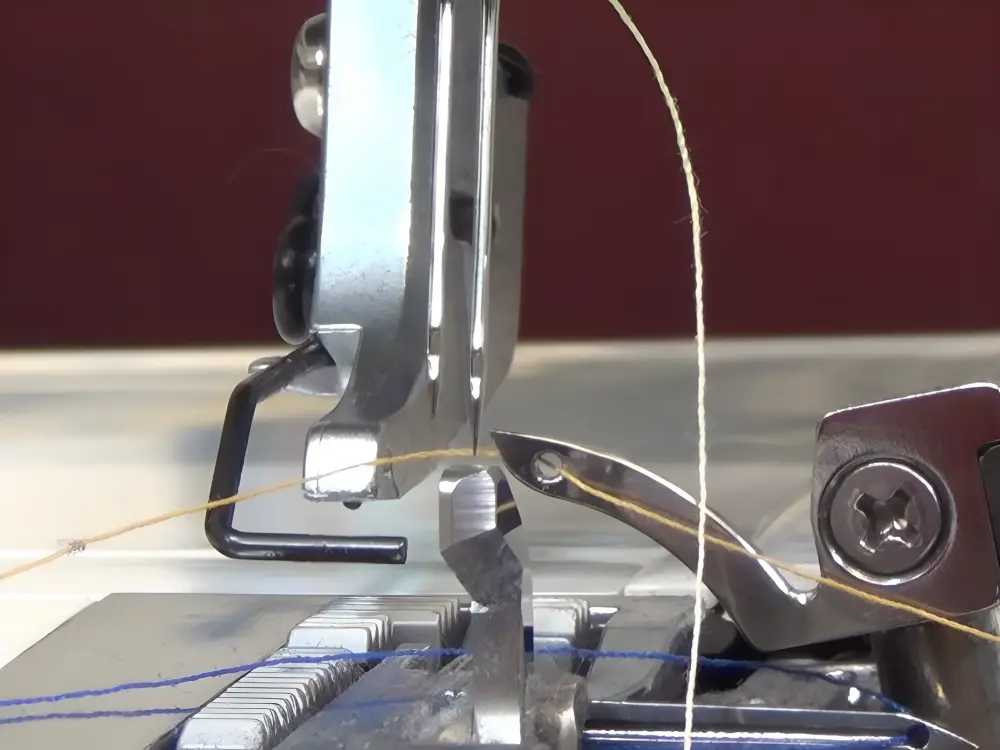
6. Securing the Threads:
With all threads in place, lower the presser foot and turn the handwheel to bring up the lower thread. Gently pull on all threads to confirm their secure engagement in the threading process.
That’s amazing; let me explain how to thread your sewing machine in simple words. First, I lower the presser foot and turn the handwheel to bring up the lower thread. Then, I check the direction of the thread and make sure it is correctly positioned in the tension disc and the take-up lever.
Next, I gently pull on both the upper and lower threads to make sure they are securely engaged in the threading process. This is important because if the threads are not properly engaged, the machine may not work correctly, or the stitches may be loose or uneven. After confirming that all threads are appropriately involved, I’m ready to start my sewing project.
Importance of Proper Threading
Threading your Brother 1034d Serger properly is essential for achieving seamless and smooth operation that guarantees stitch quality and eliminates sewing mishaps.
Whether you’re a seasoned pro or a novice, mastering the skill of threading is a vital step toward achieving outstanding, polished results. With the correct threading, you can get excited to create confidently and efficiently, knowing your machine will work flawlessly every time.
Related: Tips to Select Fabric Shredder for Home Use
So take your time and follow the instructions carefully to ensure you thread your serger correctly. Once you’ve done it a few times, it will become second nature, and you’ll wonder how you ever managed without it.
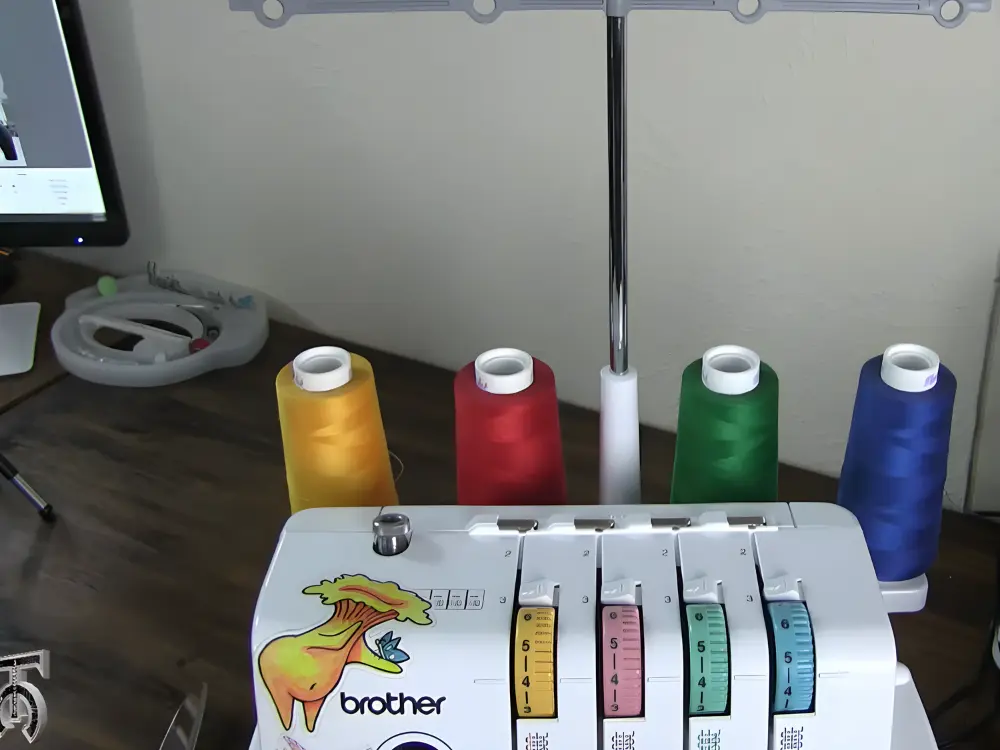
Gathering Necessary Supplies
Before you start the threading process, you must have all the necessary supplies. You will need quality threads in different colors, tweezers, and the Brother 1034d instruction manual. High-quality threads are crucial to prevent thread breakage and ensure smooth sewing operation.
Therefore, it’s recommended that you invest in good-quality threads to avoid any problems. Also, tweezers can be helpful while threading the machine, especially when dealing with small components.
Related: 12 Common Janome 9450 Problems With Fast Solutions
Finally, the Brother 1034d instruction manual will guide you through the process and help you troubleshoot any issues.
Troubleshooting Tips
Even with careful threading, issues may still arise when using a serger. If the threads keep breaking or the stitches look uneven, it’s essential to refer to the troubleshooting section in your manual.
This section will provide valuable information on how to fix common problems. Quick fixes often include rethreading the serger and adjusting thread tension.
Related: How to Make Embroidery Patches: A Step-by-Step Guide
You can ensure your serger produces high-quality, professional stitches by troubleshooting and resolving any issues.
Maintenance and Care
To keep your Brother 1034d Serger performing optimally and lasting longer, it’s essential to establish a regular cleaning routine. This involves removing any lint or debris and lubricating the machine as recommended.
Furthermore, it’s recommended to make periodic adjustments, as detailed in the manual, to guarantee smooth operation.
Related: How to Shorten a Dress Without Sewing – 13 Working Methods
Check related video on YouTube at Let’s Learn To Sew channel:
Frequently Asked Questions (FAQs):
Why is proper threading essential for a serger?
Proper threading is crucial for your serger to function well and produce high-quality stitches. Each thread must be placed in the correct position along the designated path to achieve this. Incorrect threading can result in poor quality, uneven stitches, and breakage.
Therefore, ensuring that each thread is securely placed and correctly engaged is essential to avoid these issues. Taking the time to thread your serger carefully will help you achieve the desired results.
What should I do if the threads keep breaking?
When you’re having issues with thread breakage while using a serger, start by checking the threading of your machine. Follow the manual to ensure that all threads are placed correctly.
Pay close attention to the threading guides and tension discs to avoid any deviation that might cause thread breakage.
If everything seems fine, adjust the tension settings with minor changes until you get the correct tension for each thread. This will prevent further breakage.
Can I use any thread for my serger?
When using the Brother 1034d Serger, it’s essential to choose high-quality threads that are a good match for your fabric. This will help you get the best results and prevent issues such as thread breakage.
Your manual will have recommendations for specific thread types for different fabrics. Investing in quality threads can enhance your serger’s performance and make your sewing projects last longer.
Remember, the key is to use threads suitable for your fabric.
How often should I clean and maintain my Brother 1034d Serger?
To ensure your serger works well and lasts a long time, cleaning it after every use is essential. This means removing lint, dust, and debris. You should also do a complete maintenance check every few months, depending on how much you use the serger.
Follow the instructions from the manufacturer for lubrication, and watch for any signs of wear or tension issues while you clean it. Regular maintenance will keep your Brother 1034d Serger running smoothly.
Are there any specific tips for beginner serger threading?
If you’re new to threading a serger, take your time and pay close attention to detail. Start by familiarizing yourself with the threading guide and instructions in the manual.
Online tutorials can also be helpful, with visual aids that make the threading process easier to understand. Practice threading until you’re confident, and consider using different thread colors to spot any mistakes.
Remember that threading is a skill that improves with practice, so be patient and enjoy learning!