How to Finish Embroidery Hoop: A Step-by-Step Guide
Embroidery is a lovely craft that allows you to make attractive designs on fabric using bright threads.
Once you have completed your embroidery project, it’s essential to finish it properly to showcase your hard work and preserve it for years.
In this article, I will guide you through finishing an embroidery hoop, ensuring your artwork looks professional and stays secure. So let’s get started!
The Importance of Finishing an Embroidery Hoop
Finishing an embroidery hoop not only enhances the overall appearance of your artwork but also ensures that the fabric remains taut and the threads stay in place.
By following these step-by-step instructions, you will achieve a polished finish to protect your embroidery and prepare it for display or gifting.
Gathering the Materials, You’ll Need
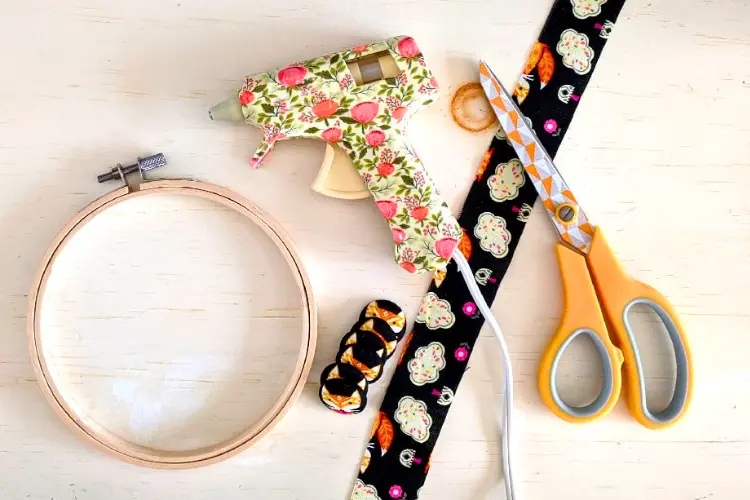
Before you begin finishing your embroidery hoop, gather the following materials:
- Embroidery hoop
- Completed embroidery project
- Fabric scissors
- Craft glue or double-sided tape
- Backing fabric (optional)
- Ribbon or decorative trim (optional)
- Trimming Excess Fabric
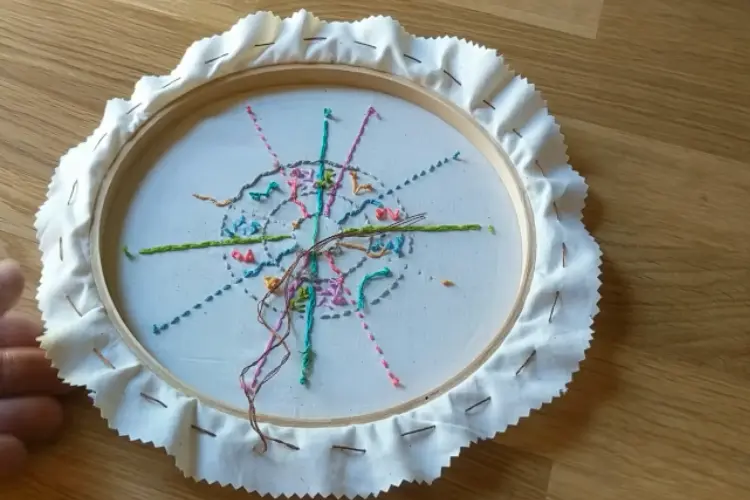
The first step in finishing your embroidery hoop is to trim any excess fabric from around the edges.
Use a couple of fabric scissors to carefully trim the fabric, leaving a border of about one inch beyond the hoop.
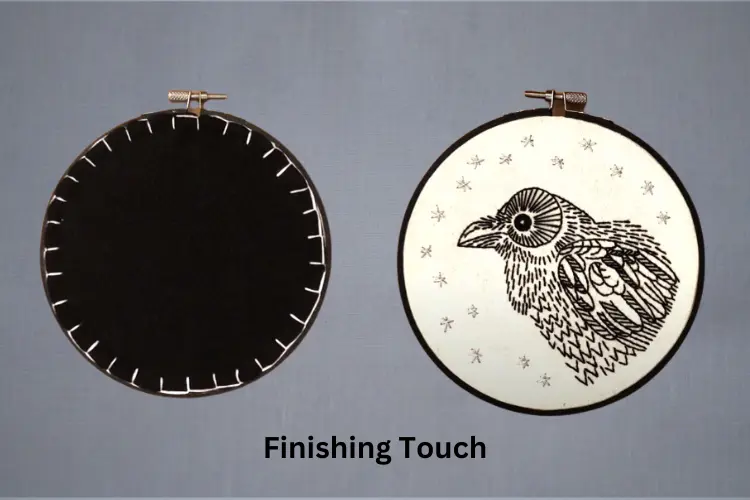
Make small, straight snips along the edge to create tabs, which will be used to secure the fabric in the next step.
Securing the Fabric in the Hoop
Place the embroidery hoop with the fabric facing down on a flat surface. Push the inner circle onto the fabric, sandwiching it between the inner and outer rings.
As you tighten the hoop, ensure the fabric remains taut and centered. Once the material is secure, trim any excess tabs sticking out.
Adding a Backing Fabric
For added durability and a neater finish, you can attach a backing fabric to the back of the hoop.
Cut a piece of cloth a little larger than the hoop and place it over the back of your embroidery, aligning it with the front.
Carefully secure the backing fabric using craft glue or double-sided tape, smoothing any wrinkles or bubbles.

Concealing the Back
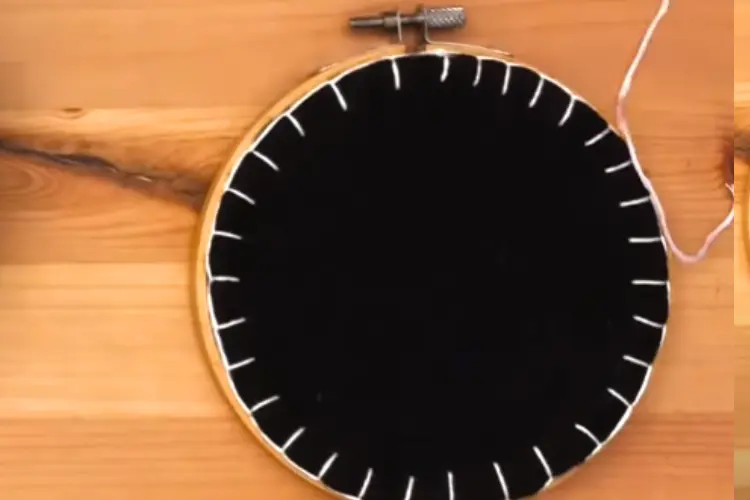
Consider concealing the back to give your finished embroidery hoop a clean and professional look.
Cut a circle of felt or fabric slightly smaller than the inner hoop’s diameter.
Apply craft glue or double-sided tape to the back of the hoop and carefully attach the circle, covering the raw edges of the fabric and the backing. Press firmly to ensure it adheres securely.
Finishing Touches
Now that your embroidery hoop is nearly complete, it’s time to add some finishing touches. You can enhance the appearance by attaching a decorative trim or ribbon around the outer edge of the hoop.
It adds a stylish touch and helps secure the fabric in place.
Choose a trim that complements your embroidery design and attach it using craft glue or tiny stitches.
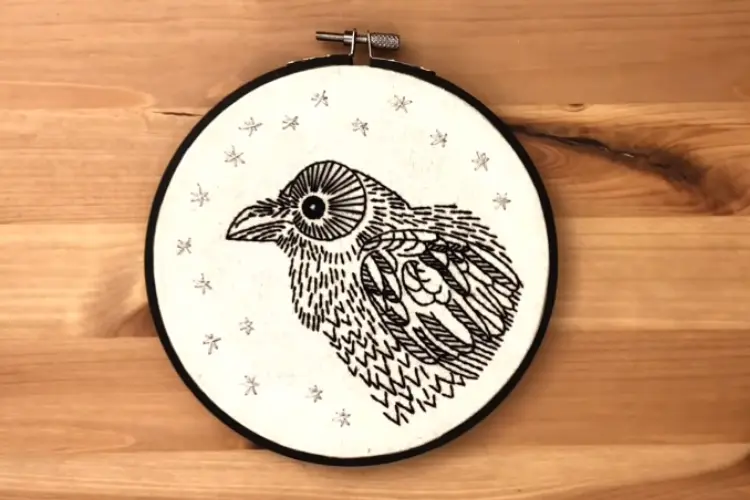
Displaying Your Finished Embroidery
You can proudly display your artwork once your embroidery hoop is fully finished. There are several ways to showcase your embroidery:
- Hang it on the wall: Use a picture hanging hook or nail to hang your embroidery hoop on the wall. Choose a location that allows your artwork to be prominently displayed and easily admired.
- Create a gallery wall: If you have multiple finished embroidery hoops, you can create them by arranging them in an aesthetically pleasing layout. Play with different sizes, colors, and designs to create a visually striking display.
- Frame it: If you prefer a more traditional approach, consider framing your finished embroidery hoop. Remove the outer circle and place the fabric in a custom-sized frame. This method adds a polished and sophisticated touch to your artwork.
- Use a display stand: Specially designed display stands are available for embroidery hoops. These stands allow you to showcase your embroidery on a tabletop or shelf, making it a focal point in any room.
Protect your finished embroidery from direct sunlight, excessive humidity, and dust to ensure longevity and vibrancy.
Conclusion
Finishing an embroidery hoop is a crucial step in the embroidery process. Following the steps outlined in this guide, you can achieve a professional and polished finish for your embroidery artwork.
Take your time, pay attention to detail, and enjoy the process of transforming your embroidery into a beautiful display piece.
Now you can proudly showcase your creativity and skill to others!
Check the related videos on YouTube at Craft Habit Raleigh channel:
Frequently Asked Questions (FAQs)
Washing an embroidery hoop is generally not recommended, mainly if it contains delicate threads or unique embellishments. Instead, spot-clean any stains or marks using a gentle fabric cleaner or mild soap and water.
Yes, embroidery hoops are reusable. Once you finish one task, remove the fabric, clean the round if necessary, and use it again for your next embroidery endeavor.
Ironing can help remove any wrinkles or creases in the fabric, but it’s essential to be cautious. Use a low heat setting and place a thin or pressing cloth over the embroidery to protect the threads. Avoid ironing directly on any metallic or embellished elements.
To ensure the longevity of your finished embroidery, keep it in a cool, dry place away from direct daylight. Consider covering it in acid-free tissue paper or supporting it in a protective bag to control dust or damage.
Absolutely! You can personalize your finished embroidery hoop by adding beads, sequins, or other decorative elements. Just ensure they are securely attached and won’t interfere with the fabric’s tension or the hoop’s stability.