How to Remove Embroidery From a Jacket | Step By Step Guides
A Quick Answer By Embroidery Master’s: Gather tools like a seam ripper, tweezers, and an iron to remove embroidery from a jacket. Assess the embroidery and choose a method:
- Seam ripper, ironing, or freezing.
- Carefully execute the strategy, test on a small area first, and be patient throughout.
- If you need more clarification, seek professional help.
Introduction
Embroidery on a jacket can add a touch of personalization and style. However, there may come a time when you want to change the design, replace it with something else, or remove it altogether.
Removing embroidery from a jacket requires a delicate touch to ensure you don’t damage the fabric.
This guide walks you through the step-by-step process of safely removing embroidery from the jacket.
Embroidery removal might seem daunting, but you can reach excellent results with suitable instruments and a bit of tolerance.
Whether repurposing an old jacket or correcting an embroidery mishap, the process is manageable.
Step-by-Step Guides to Remove Embroidery From a Jacket
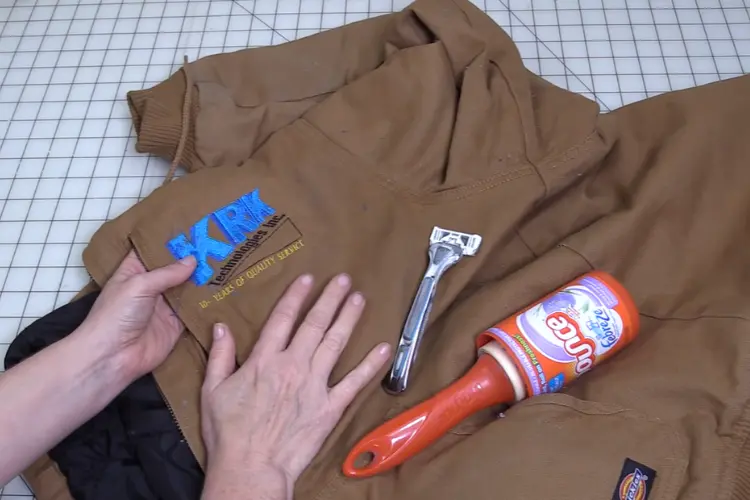
1. Gather Your Tools and Supplies
Before you begin, ensure you have the necessary tools and supplies. You’ll need a seam ripper, tweezers, an iron, a clean cloth, an adhesive remover, and a freezer-safe plastic bag.
2. Assess the Embroidery
Examine the embroidery you want to remove. Take note of the stitches and the fabric type. This assessment will help you choose the best removal method.
3. Choose a Removal Method
You can use a few methods to remove embroidery: the seam ripper method, the ironing method, or the freezing method.
Each process requires careful execution to avoid damaging the fabric.
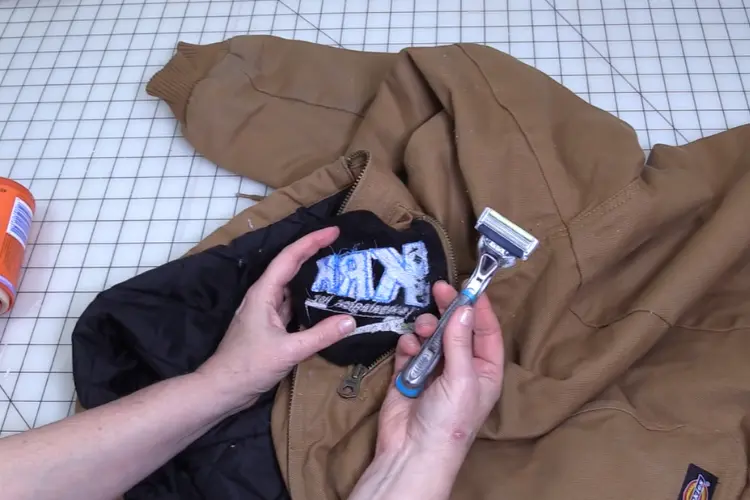
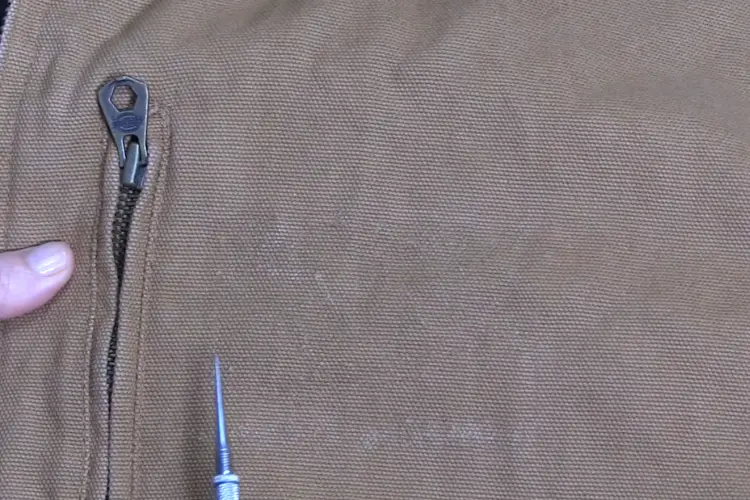
4. Seam Ripper Method
The seam ripper method involves carefully cutting the embroidery threads without damaging the fabric. Gently insert the seam ripper under the stitches and lift them out.
5. Ironing Method
The ironing method involves placing a clean cloth over the embroidery and gently pressing it with a warm iron. This loosens the adhesive and makes it easier to remove the embroidery.
6. Freezing Method
The freezing method is suitable for delicate fabrics. Place the jacket in a freezer-safe plastic bag and freeze it. Once frozen, the adhesive will become brittle, making it easier to peel off the embroidery.
7. Test on a Small Area
Before removing the embroidery, test your chosen method on a small, inconspicuous area of the fabric to ensure it doesn’t cause any damage.
8. Begin the Removal Process
Following the chosen method, start removing the embroidery slowly and carefully. Work in small sections to prevent any accidental tearing.
9. Take Your Time and Be Patient
Embroidery removal requires patience. Take your time and work diligently to avoid making mistakes. Rushing through the process can result in damage to the fabric.
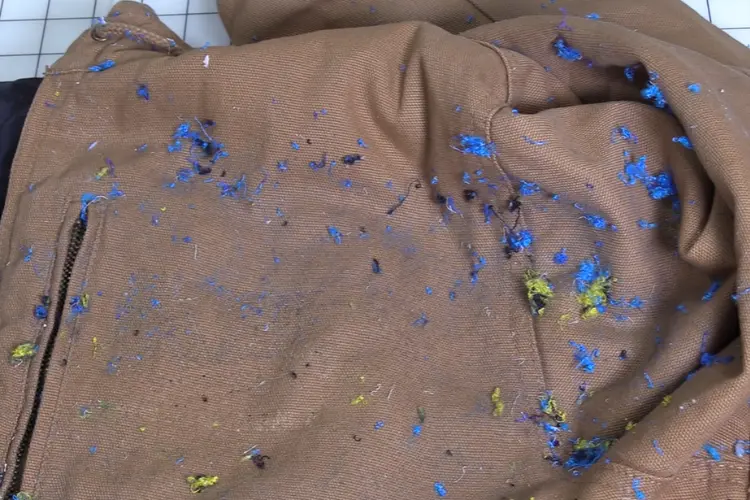
10. Clean and Care for the Fabric
After successfully removing the embroidery, clean the fabric to remove any adhesive residue.
Follow the maintenance instructions for the clear fabric type to prevent any damage during cleaning.
11. Consider Professional Help
If you need clarification on the removal process or the delicate fabric, consider seeking professional help.
A professional can remove the embroidery safely, and the material remains intact.
Conclusion
Removing embroidery from a jacket can be rewarding if done with care and patience.
By following the appropriate removal method and taking time, you can successfully remove the embroidery while preserving the fabric’s integrity.
Whether you want to change the design or fix a mistake, these steps will quickly guide you.
Check related videos on YouTube at Let’s Learn To Sew Channel:
Frequently Asked Questions (FAQs)
If the embroidery is in good condition, you can repurpose it for another project.
With careful execution, the fabric should remain undamaged. However, it’s essential to follow the removal method correctly.
The duration varies based on the method and the complexity of the embroidery. It could take anywhere from 30 minutes to a few hours.
Yes, the freezing method is particularly suitable for delicate fabrics as it minimizes the risk of damage.
If you make a mistake, assess the damage. Depending on the severity, consider professional help for repairs.