12 Common Janome 9450 Problems With Fast Solutions
If you own a Janome 9450 sewing machine, you will appreciate its advanced features and capabilities. However, like any electronic device, it may encounter problems from time to time.
Today, I’ll explore 12 common Janome 9450 Problems that users may face and provide fast solutions to resolve them.
Whether you’re a beginner or an experienced user, this guide will help you troubleshoot and fix these problems efficiently.
The Janome 9450 sewing machine is popular among sewing lovers due to its impressive features and performance.
However, even with its advanced technology, users may need help operating the machine. Let’s explore some common problems and their solutions.

12 Common Janome 9450 Problems & Solutions
Below, we have compiled a list of 12 common problems this sewing machine faces and their corresponding solutions.
Whether you’re dealing with thread bunching, needle breakage, or tension issues, the Embroidery Master team covered you with helpful tips and troubleshooting steps to get your machine back in working order.
1. Thread Tension Problems
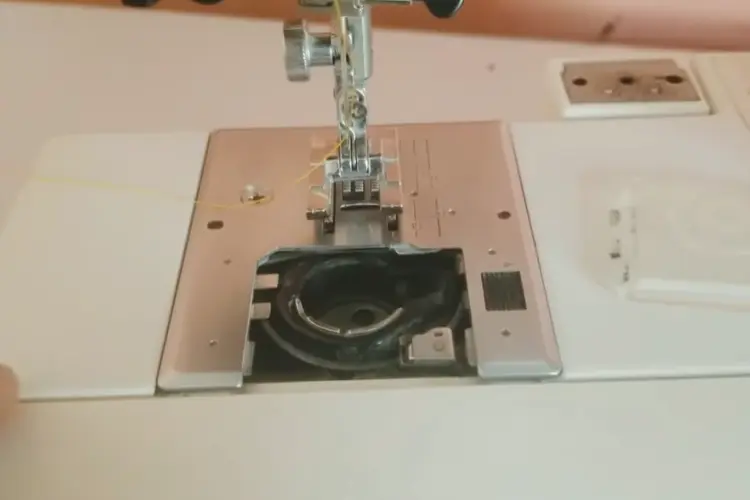
One of the most common issues that users face is thread tension problems.
This can result in loose or tight stitches, causing frustration during sewing projects.
To resolve this problem, reread the machine and ensure the thread is correctly seated in the tension discs. Adjust the tension dial gradually until you achieve the desired pressure.
Complete Details:
When sewing, a common problem is the thread tension, which can mess up your stitches. If they’re too loose or too tight, it can throw off your whole project. To fix this:
- Take a careful look at your sewing machine manual.
- Follow the threading instructions closely and ensure the thread is in the right place in the tension discs.
- Adjust the tension dial slowly until your stitches look just right.
- This patient fixing helps make sewing smoother and boosts the success of your project.
In sewing, dealing with thread tension problems is a big challenge. Too loose or tight stitches are annoying and can mess up your sewing. To solve this, go back to the basics. Check your machine manual for threading instructions, and be sure the thread is where it should be in the tension discs.
Then, slowly turn the tension dial until your stitches are perfect. This careful way of fixing thread tension makes sewing enjoyable again and shows the skill of getting the stitches just how you want them.
2. Needle Breakage
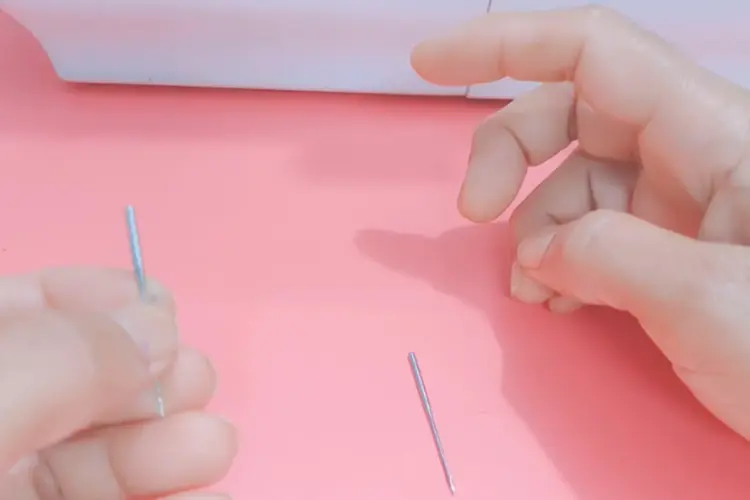
Needle breakage can occur for several reasons, such as using the wrong needle type or size, sewing at high speeds, or hitting a pin or other hard object.
Use the appropriate needle for your fabric type and thickness to avoid breakage.
Also, sew moderately quickly and remove any pins or other obstacles from the fabric before sewing.
Complete Details:
Breaking a needle while sewing can be frustrating, and it’s essential to know why it happens. One common reason is using the wrong needle size or type. To avoid this, ensure the needle matches your fabric’s thickness and type. Sewing too fast is another reason needles can break. It’s better to sew at a moderate speed to avoid putting too much pressure on the needle. Also, before you start sewing, take a moment to check and remove any pins or complex objects from the fabric to prevent needle breakage and make your sewing go smoothly.
In the sewing world, dealing with needle breakage can be a real headache and mess up your creative projects. There are a few reasons, like using the wrong needle or sewing too fast. Choose a needle for your fabric’s thickness and type to avoid this. Sewing at a moderate speed is better to keep the needle from breaking. Before you start sewing, check your fabric for any pins or things that could cause trouble so you can prevent needle breakage and enjoy a trouble-free sewing experience.
3. Bobbin Winding Issues
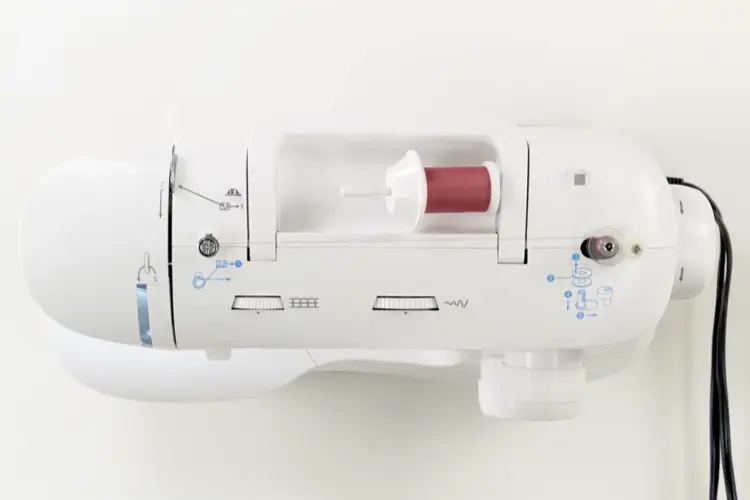
If you are experiencing problems with the bobbin winding, check if the bobbin is inserted correctly in the winding mechanism.
Ensure that the thread is properly threaded through the tension disc and that there are no tangles or knots.
If the issue persists, use a different bobbin or consult the user manual for specific troubleshooting steps.
Complete Details: Having trouble with your bobbin winding while sewing can be tricky, but there are simple things you can do to fix it. First, ensure your bobbin is put correctly in your sewing machine. Check that the thread goes smoothly through the tension disc without twists or knots. If the problem keeps happening, try using a different bobbin. If it’s still hard, look in the user manual for your sewing machine. It has specific steps to help you fix the problem based on the kind of machine you have.
4. Skipping Stitches
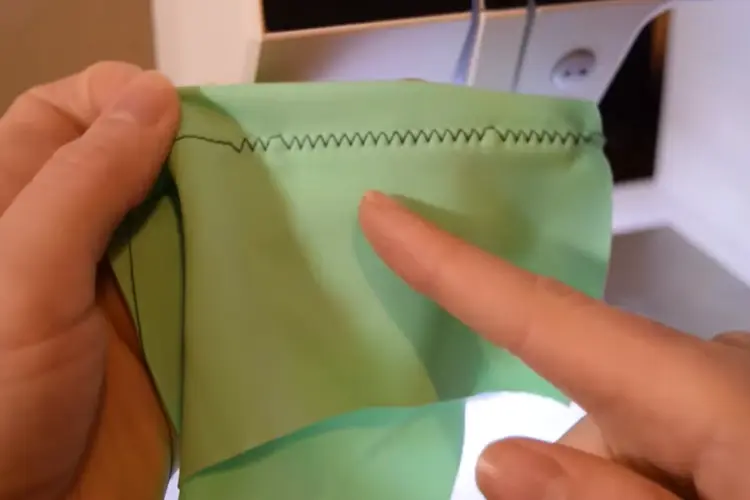
When your machine starts skipping stitches, it can be frustrating and affect the overall quality of your sewing.
This problem is often caused by a dull or bent needle, incorrect thread tension, or using the wrong needle for the fabric.
Replace the needle with a new one, check the tension settings, and ensure you use the correct needle for your project.
Complete Details: Dealing with skipped stitches in your sewing machine can frustrate and mess up your project. This happens when the needle is old or bent, making it hard to sew through the fabric. The fix is simple: add a new needle, and you’ll notice a significant improvement.
Another reason for skipped stitches is if the thread tension on your machine needs to be fixed. Check and adjust the tension settings to make sure your stitches are even. Also, using the right needle for your fabric is super important to avoid this problem, so choose the correct one for your project. Matching your tools to what you’re sewing helps you get the best results!
5. Uneven Feed Dogs
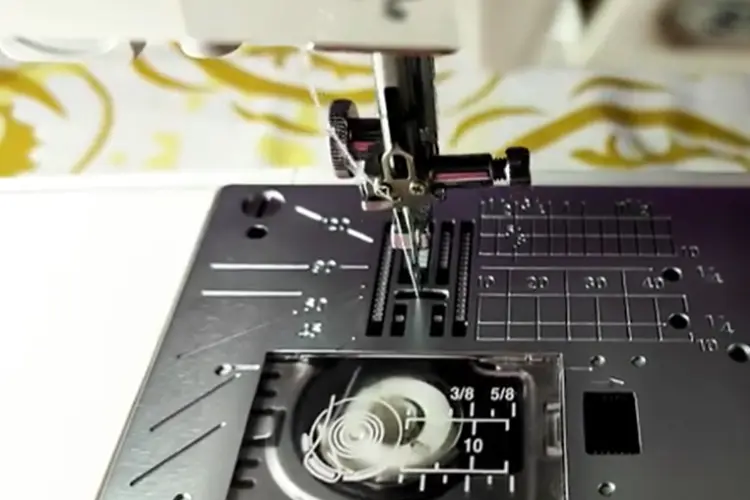
If the fabric is not feeding smoothly or evenly, it may be due to the uneven feed of dogs.
First, clean the feed dogs to remove any lint or debris obstructing their movement.
If the problem persists, consult the user manual to locate the feed dog adjustment mechanism and make the necessary adjustments to ensure even feeding.
Complete Details: Difficulty with your sewing machine and uneven fabric feeding can be annoying when trying to sew smoothly. If your fabric isn’t moving evenly, it’s probably because of something called the feed dogs. To fix it:
- Start by cleaning the feed dogs.
- Remove any bits of lint or stuff that might stop them from working right. This simple cleaning can improve things and help your fabric move more evenly.
- If the problem persists, check out your sewing machine’s user manual.
It will show you how to find the feed dog adjustment thingy and tell you what steps to follow to make things right. As the manual explains, making these adjustments can ensure your fabric moves evenly, making your sewing experience better and more enjoyable.
6. Error Messages
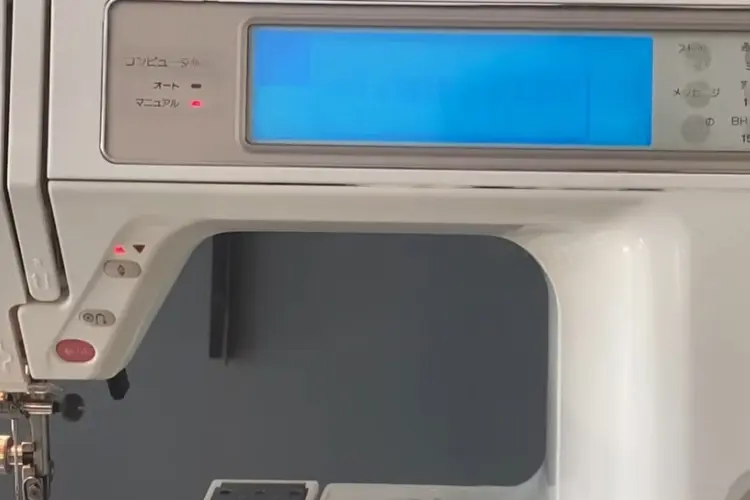
Modern sewing machines like the Janome 9450 often display error messages to indicate specific issues.
When facing an error message, refer to the user manual for the corresponding error code and follow the recommended troubleshooting steps.
If the problem persists or the error message needs to be listed in the manual, contact Janome customer support for further assistance and guidance.
Complete Details: Getting error messages on fancy sewing machines like the Janome 9450 can happen, but knowing how to deal with them is essential for a good sewing experience. These messages are like signals that tell you if something’s not right with the machine. When you see one, the first thing to do is check the manual that came with your sewing machine.
The manual lists error codes and steps to fix each problem. Usually, following these steps can solve the issue. But if the problem continues or the manual doesn’t cover that error message, contacting Janome customer support is a good idea. They know a lot about these machines and can help you figure out and fix more complicated problems, making sure your sewing machine works great.
7. Bobbin Thread Getting Tangled
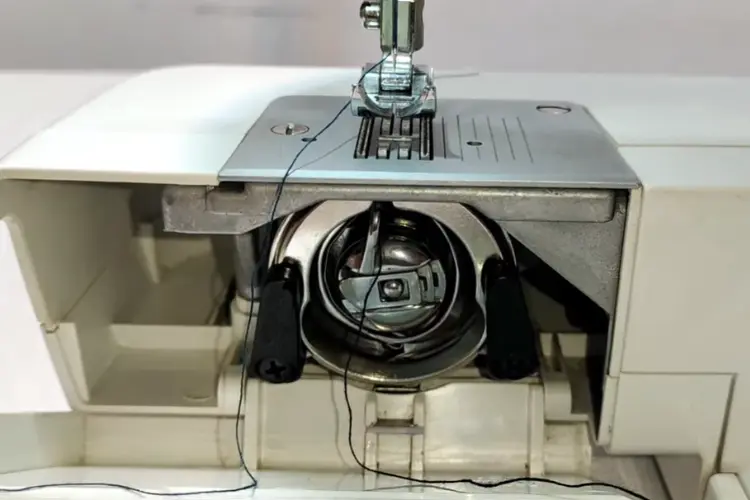
When the bobbin thread gets tangled, it disrupts your sewing process. Begin by checking if the bobbin is inserted correctly and securely.
Ensure that the thread is wound smoothly and evenly on the bobbin. If the problem persists, inspect the bobbin case for lint or debris causing the tangling.
Clean the bobbin case using a soft brush or compressed air to remove buildup.
Complete Details: Are you a sewing enthusiast frustrated when the bobbin thread becomes tangled and disrupts your creative flow? Fear not; I have some solutions to help prevent this issue! Firstly, it’s essential to ensure the bobbin is inserted correctly and secured. Next, check that the thread is wound onto the bobbin evenly and without snags.
If the tangling persists, take a closer look at the bobbin case. Sometimes, debris or lint can build up inside and cause the thread to become tangled. Don’t worry; a gentle cleaning with a soft brush or air canister can help remove obstructions and get your sewing machine back in tip-top shape. With these tips, you can sew without pesky thread tangling and enjoy a smooth and seamless crafting experience.
8. Machine Jamming
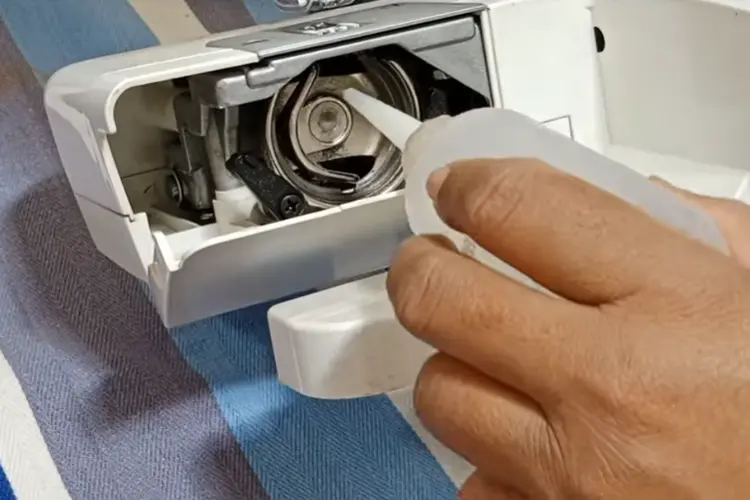
Machine jamming can occur when the fabric gets stuck in the machine, leading to difficulties in sewing smoothly.
First, turn off the machine and unplug it from the power source to address this issue. Gently remove the fabric and any thread that may be causing the jam.
Check the needle and bobbin area for any tangled threads or debris, and clean it thoroughly. Once the machine is precise, rethread it and resume sewing.
9. Skipped or Missed Stitches
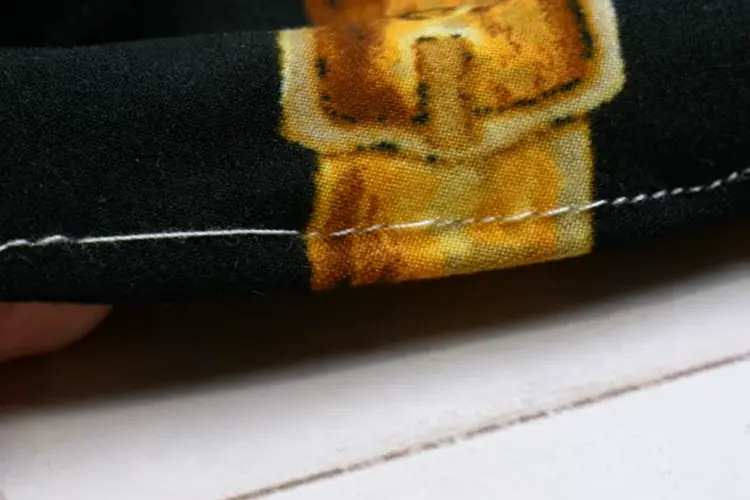
If you notice that your machine needs to be completed or stitches need to be added, it can be frustrating and impact the quality of your projects.
This issue may arise due to various factors, such as incorrect needle size, improper thread tension, or a worn-out needle.
Start by replacing the needle with a new one and ensuring it is compatible with the fabric you’re working on.
Adjust the thread tension as needed and test the machine on scrap fabric to ensure smooth stitching.
10. Thread Snapping
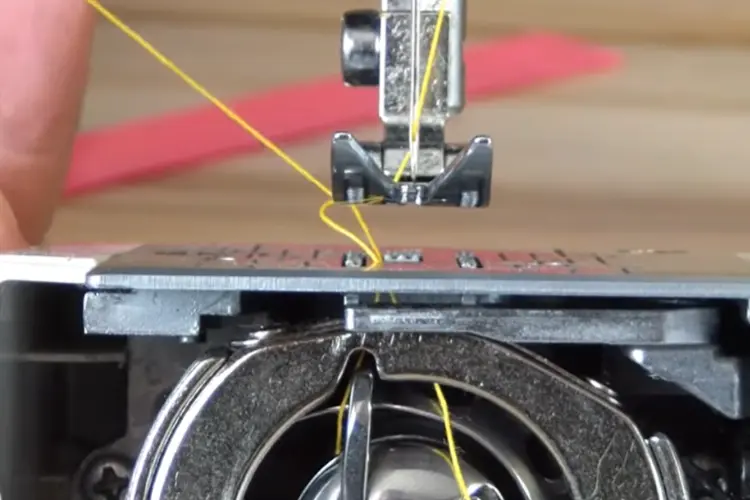
Thread snapping during sewing can be attributed to several factors, including using the wrong thread type, improper tension settings, or a worn-out needle.
First, check that you are using the correct thread for your project. Ensure the line, including the tension discs, is correctly threaded through the machine.
If the problem persists, adjust the tension gradually to ensure the needle is sharp and in good condition.
11. Machine Not Powering On
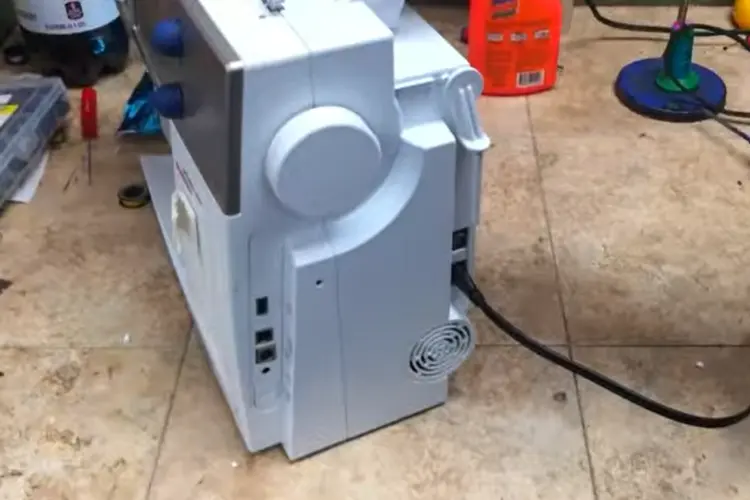
If your machine fails to power on, there could be a simple solution to get it up and running again.
First, check if the power cord is securely connected to the machine and outlet.
Verify that the outlet has power by plugging in another device. If the power supply is not the issue, there might be a problem with the machine’s internal wiring or fuse.
In such cases, contacting a qualified technician or Janome customer support is recommended.
12. Uneven or Loose Stitches
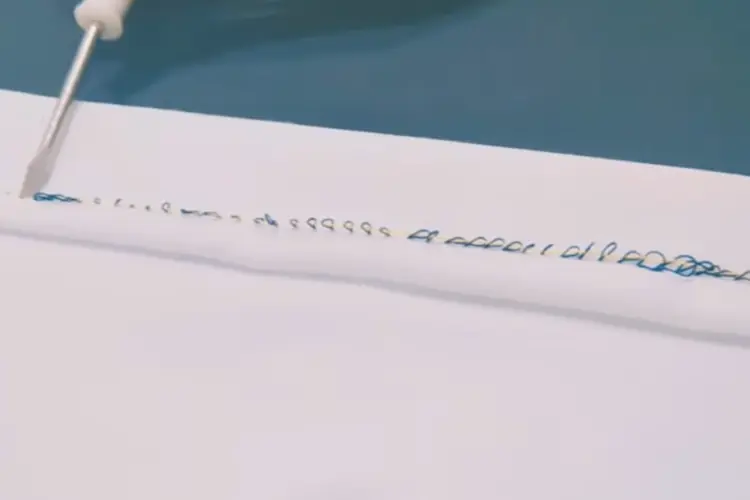
When you notice that your stitches are uneven or too loose, it can affect your sewing projects’ overall appearance and durability.
Begin by checking the thread tension and adjusting it if necessary. Ensure the thread is properly threaded through the machine, including the tension discs and the bobbin case.
If the issue persists, consider changing the needle, as a damaged or incorrect hand can cause irregular stitches.
Conclusion
In conclusion, the Janome 9450 is a feature-rich sewing machine with exceptional performance. However, encountering problems is not uncommon.
By familiarizing yourself with the common issues and their solutions discussed in this article, you can troubleshoot and resolve many of the problems you may encounter while using your machine.
Remember to refer to the user manual for specific instructions and always seek professional assistance if needed.
Check the related video Janome Junkies on the YouTube channel:
Frequently Asked Questions (FAQs):
It’s recommended to clean your sewing machine after every major project or at least once a month if you use it regularly.
Yes, this machine is compatible with universal needles. However, choosing the appropriate needle size and type is essential based on the fabric you work with.
Error messages on the machine indicate specific issues or malfunctions. Consult the user manual to identify the error code and follow the recommended troubleshooting steps. If the problem persists, contact Janome customer support.
Use your fabric’s correct needle type and size to avoid needle breakage. Sew at a moderate speed and avoid sewing over pins or other complex objects. Replace the needle regularly, as a dull or bent needle is more prone to breakage.
Yes, it can handle thick thread. However, using the appropriate needle size and adjusting the tension to accommodate the thicker line is essential.
My Janome 9450 appears to have set itself to free motion quilting even though I have straight stitch selected. The lock stitch is all that will sew. I have reset to default, turned the machine off and on.
Thank you for reaching out and sharing your experience with your Janome 9450. I understand how frustrating it can be when your machine isn’t working as expected. Based on your description, it seems like your machine might be stuck in free motion quilting mode despite selecting a straight stitch. Here are some steps you can try to resolve this issue:
Check the Presser Foot: Ensure that the correct presser foot is attached. Sometimes, using the wrong foot can cause the machine to behave unexpectedly. For straight stitching, you should use the standard presser foot rather than the darning or quilting foot.
Needle Position: Verify that the needle is correctly installed and positioned. An improperly positioned needle can cause stitching issues.
Feed Dogs: Make sure the feed dogs are raised. In free motion quilting, the feed dogs are lowered to allow for manual fabric movement. If they are still lowered, the machine will not feed the fabric properly. You can usually adjust the feed dogs with a switch or lever on the machine.
Stitch Settings: Double-check your stitch settings. Sometimes, minor adjustments can make a significant difference. Ensure that you have selected the correct stitch length and width for straight stitching.
Software Update: Confirm that your machine’s firmware is up to date. Janome periodically releases updates to improve functionality and fix bugs. Check the Janome website for any available updates for the 9450 model.
Consult the Manual: Refer to the user manual for troubleshooting tips specific to your machine. The manual can often provide solutions to common problems.
Professional Service: If none of the above steps resolve the issue, it might be time to contact Janome customer support or take the machine to an authorized service center. There could be an internal issue that requires professional attention.
In the meantime, I recommend documenting any specific error messages or unusual behavior to share with the support team. This information can help them diagnose and resolve the problem more efficiently.
I hope these suggestions help you get back to sewing smoothly. Please let us know if you have any further questions or need additional assistance.
Best regards,
Barry Allen
I seem to have 2 issues with my Janome 9450.
First, the locking stitch at the beginning of a seam is making a knot with a tail on the right side of the fabric. Is it normal for the thread tail and knot to be on the front of a piece?
Second, when the automatic thread trimmer is used, it cuts the top thread so short that the needle comes unthreaded. I use the cutter before lifting the presser foot. Can you help?
Hi there! Thanks for reaching out about the issues with your Janome 9450. Let’s address them one at a time:
1. Locking Stitch with Thread Tail:
It’s not typical for the locking stitch to leave a long tail and knot on the right side of your fabric. Here are a couple of things to check:
Needle Threading: Double-check your threading process. Ensure the thread is following the correct path through the tension discs and guides. Refer to your Janome 9450 manual or a threading tutorial online for your specific machine.
Needle Selection: Make sure you’re using the right needle size and type for your fabric. An incorrect needle can cause improper stitch formation.
If you’ve checked these points and the issue persists, consider consulting your Janome machine’s manual for troubleshooting steps related to locking stitches or contacting Janome customer support.
2. Automatic Thread Trimmer Leaving Short Thread:
The automatic thread trimmer might be cutting the top thread a bit too close for comfort. Here’s what you can try:
Automatic Thread Trimmer Setting: Your Janome 9450 likely has an option to adjust the thread trimming length. Check your machine’s manual (or search online for the Janome 9450 instruction book) for instructions on how to access this setting and adjust the trimming length to leave a longer thread tail.
Thread Trimmer Button Timing: The manual might also recommend specific timing for using the thread trimmer button. It’s possible the user guide advises against using the button before lifting the presser foot.
By following these tips, you should be able to resolve the short thread issue.
If you’ve tried these suggestions and the problems continue, feel free to leave a comment with more details about what you’ve tried, and maybe the sewing community can offer some additional insights!